homeInteriorSauna options on the balcony or loggia
Sauna options on the balcony or loggia
Sauna on the balcony or in the loggia is unusual, but so cool and interesting. I even imagine the first reaction of the guests when they see that you have your own sauna in your apartment!
Sauna on the balcony of the apartment may seem too bold decision, almost crazy. However, this is a very real idea, if you approach the matter wisely
With the installation and installation of the sauna on the balcony in the apartment there will be no problems. The only thing that may be the problem is the conduct of electricity, waterproofing and thermal insulation, but if the master professional does this work, then you will succeed very well.
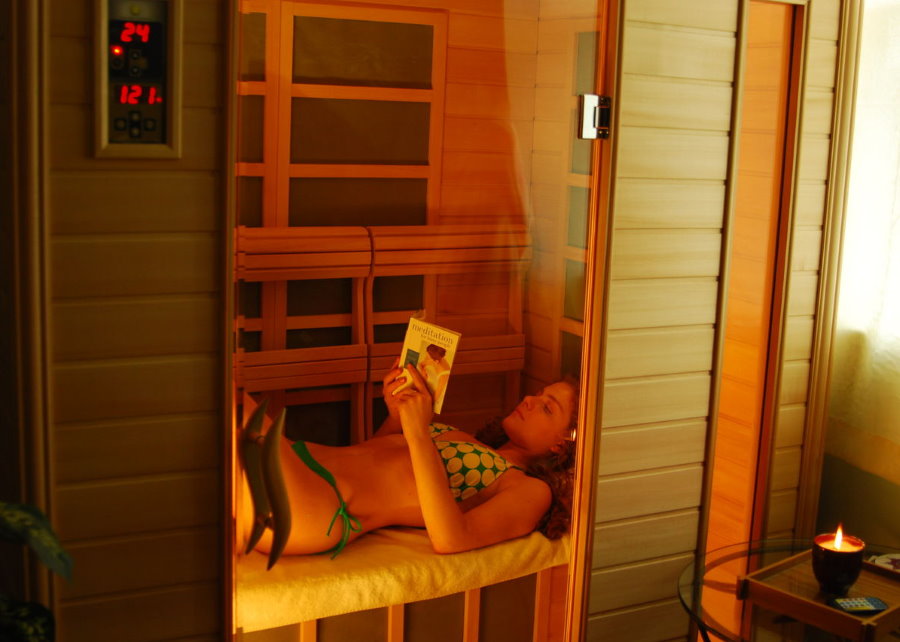
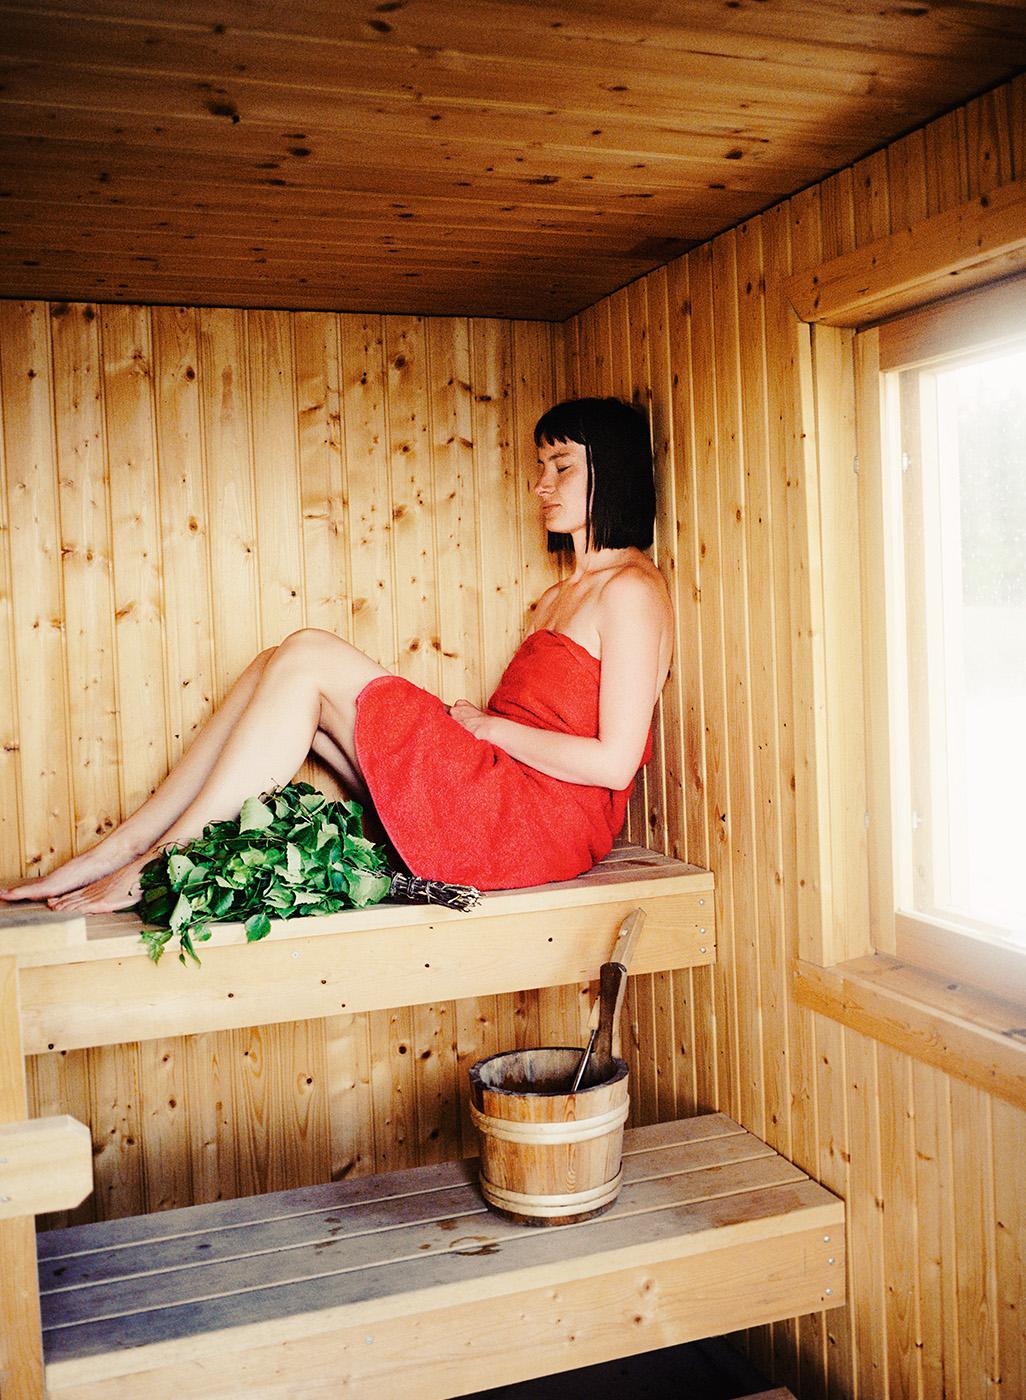
The biggest plus of the balcony sauna is its convenience, because you can use your own steam room at any time
Residents of privatized apartments often have the question: is it necessary to register a sauna (after all, is it like a part of a privatized apartment)? If you look, then your ceiling becomes part of the neighbor’s floor, and the load-bearing wall becomes the wall of another apartment. The owners have every right to the space between the bearing walls and the ceilings of the slabs along with decoration, repair, linoleum ...
If we compare the possibilities of arranging a steam room on a balcony or on a loggia, then the latter has certain advantages. Firstly, the loggia is usually larger than the balcony, and secondly, the balcony slab is designed for less load
The balcony slab is legally considered common property, but this does not mean that its internal lining will be common. So, your balcony or loggia and you dispose of them as you want. A full-fledged landlord has the right to transformation and is responsible himself. Naturally, taking into account all safety rules and adhering to the arrangement plan. The plan must include:
Maximum floor load.
Safety Approved Materials.
Ways to strengthen the balcony slab.
Hydro and thermal insulation of the room.
And another important point. Talk and ask your neighbors for permission so that there will be no friction and disagreement in the future. It’s better to go to the city architecture, BTI, fire department to get a document ... If permission is on hand, you can start construction.
Selection of materials for a balcony sauna
It is better to take care of the preparation of the necessary materials in advance, so that you do not fuss later.
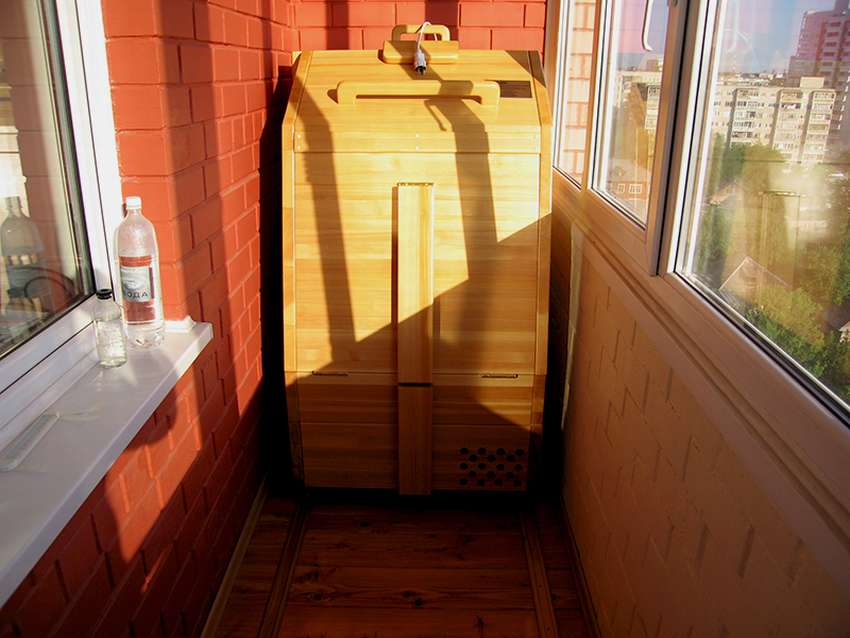
The mini-sauna is an insulated wooden box, the dimensions of which are limited by the dimensions of the balcony
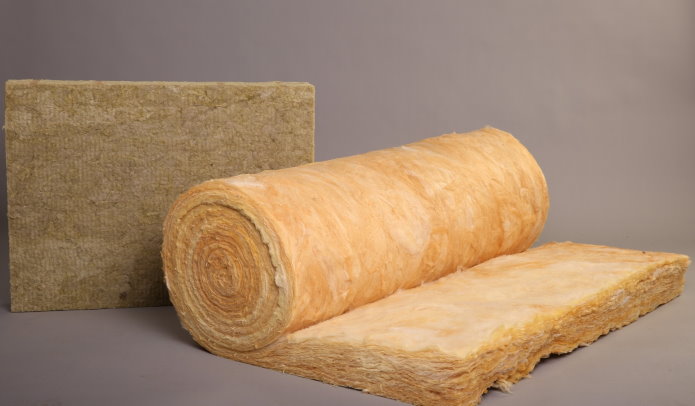
As a heater, you can use:
Polyfoam, foam. He has established himself on the good side and performs a warmly saving function. In addition, it is inexpensive and effective.
Mineral wool. Warm insulation can floor, walls, ceiling. It is universal. Vata is soundproofed, which neighbors and you will like.
Waterproofing film. It is used as an inverse roof. Waterproofing material has the property of thermal conductivity.
Foam and sealant. Foam is a demanded material. With its help, you can stick all the seams and joints.
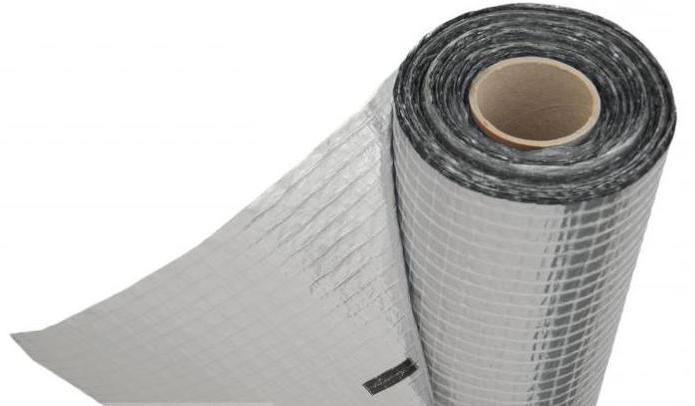
Vapor barrier. It helps to reduce the occurrence of condensate (penetration of cold air), has a sound-absorbing property.
Mineral wool for insulation
Isospan for vapor barrier
Remember, in this case, the main thing is not cost, but quality and safety.
Finishing a balcony and a loggia for a sauna
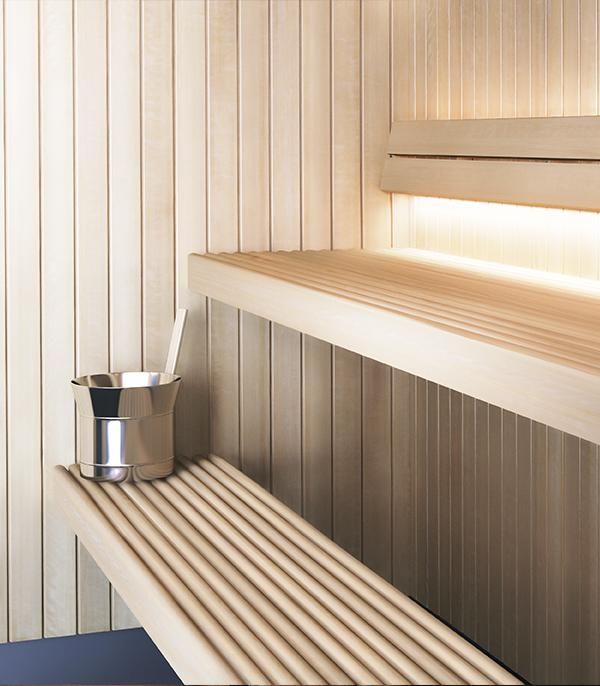
As a finishing material, wood is considered the best option. It is recommended to take larch with 10 percent shrinkage. In all other respects, conifers can be used. After them there will be such a pleasant aroma!
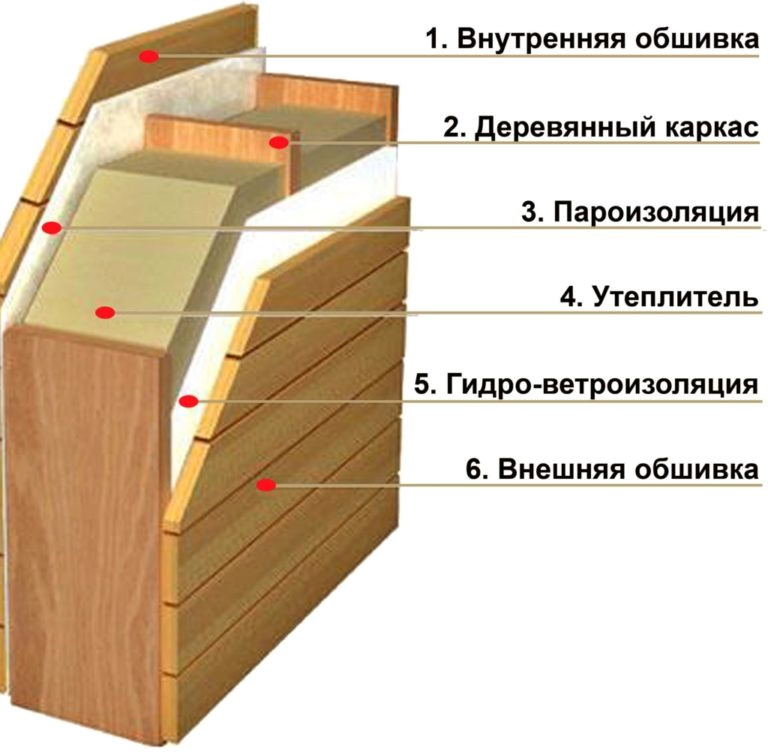
The walls, floor and ceiling of the sauna are arranged in the same way - a wooden frame filled with insulation and lined with lining
Ceiling decoration
In ceiling decoration, the most important is vapor barrier. All the steam will be upstairs, and this should be considered. If you make a decoration with flaws, then condensation will appear and the formation of mold, dampness is possible. For the ceiling, you need to purchase a crate of bars, between which there should be waterproofing. Insulation is applied to it. The wooden structure fixes the entire structure. After gluing vapor barrier membranes, and as a result, the last finish is performed.
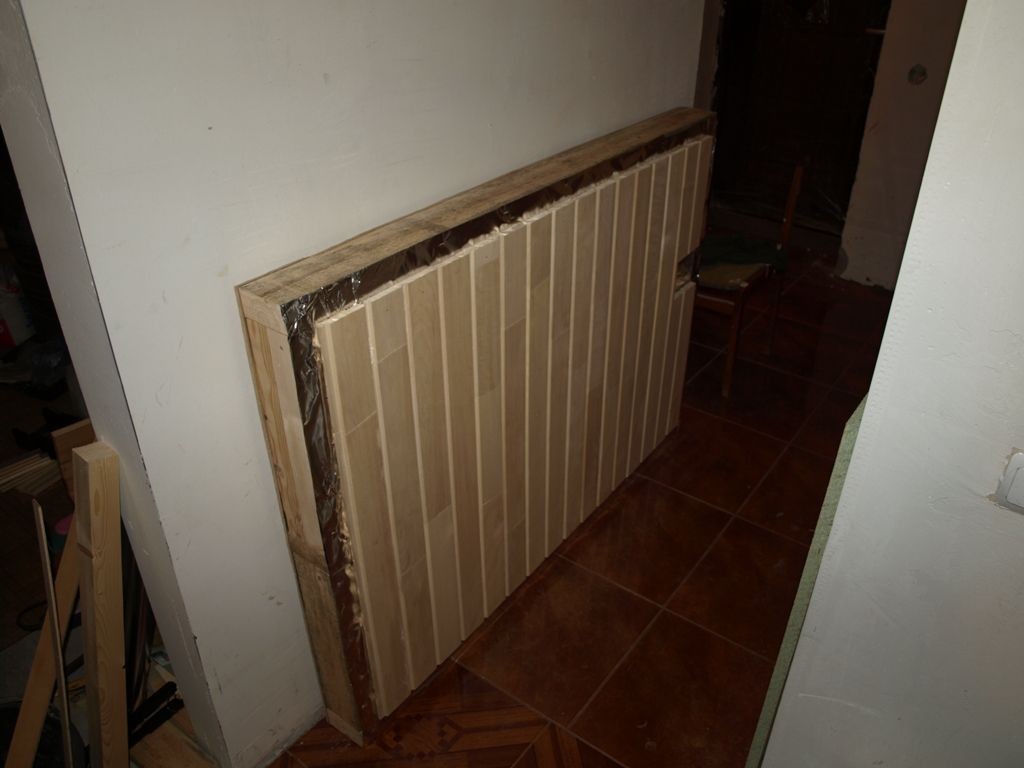
The ceiling in the mini-sauna is small, so you can first assemble it below in the form of a block ...
... and then fix the finished block in place
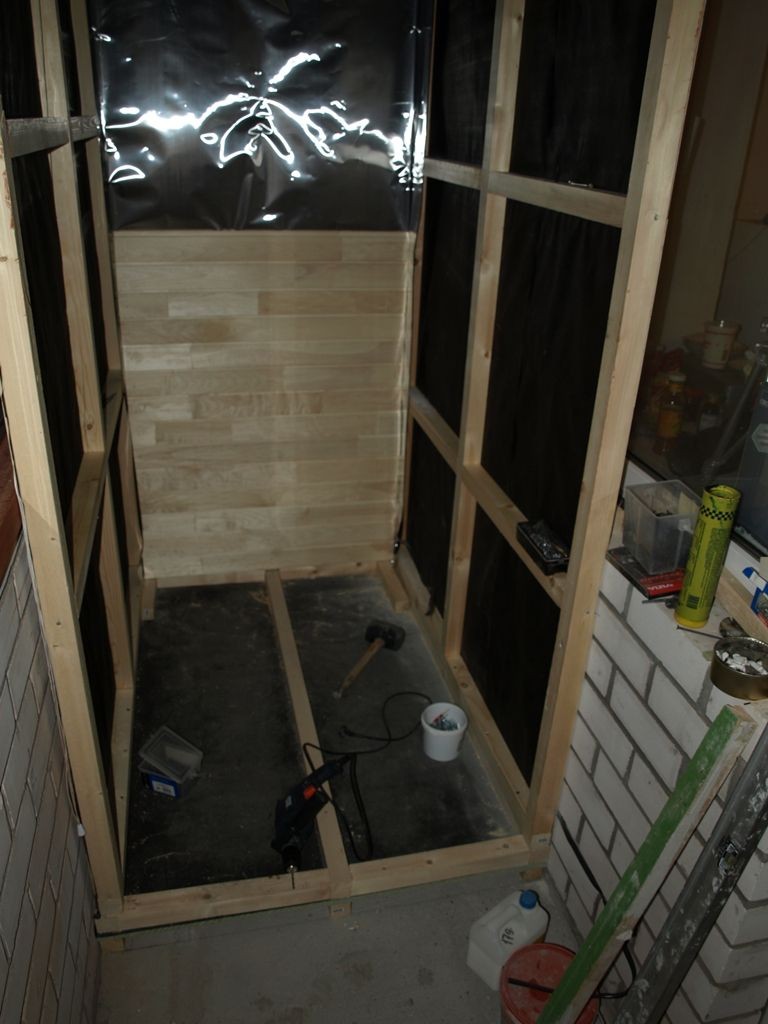
Floor finish
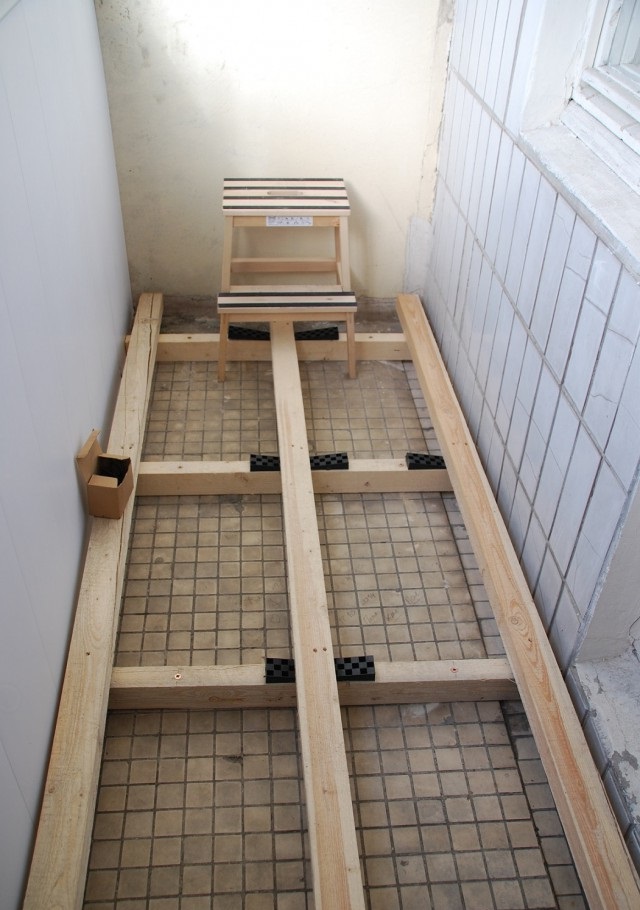
The floor must be primed and an insulation layer laid. Thermal insulation is performed as follows:
A vapor barrier film is placed on the bottom layer.
Place the paving lathing.
The punch attach the mount.
The transverse bars are mounted around the side walls.
Insulation is placed in the crate.
Flooring boards are laid.
Frame laying
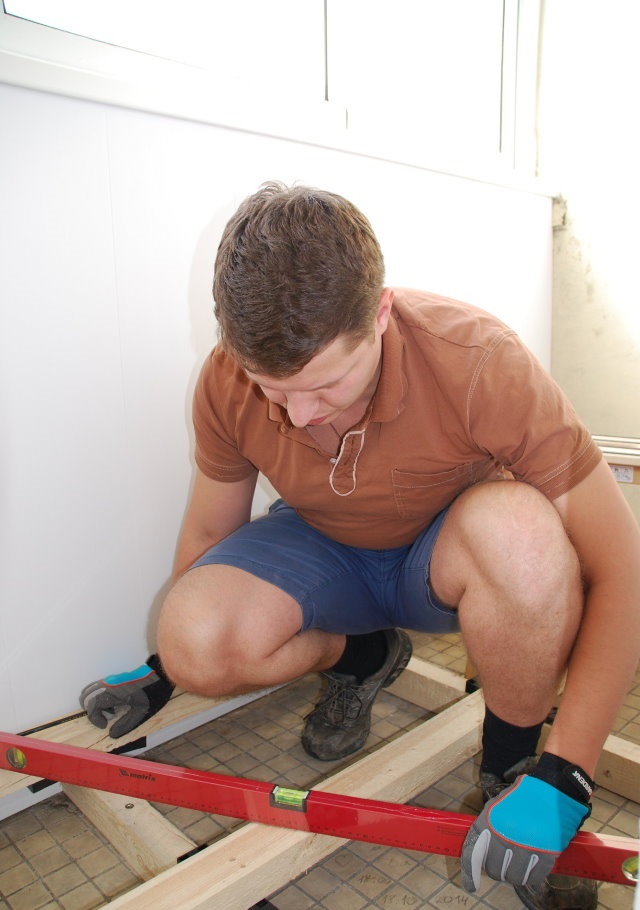
Wireframe alignment
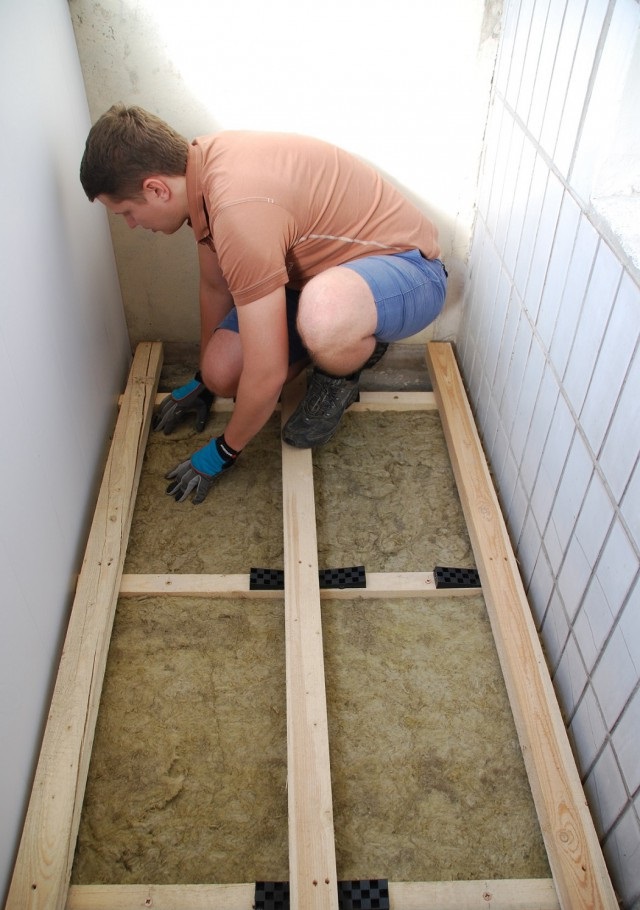
Mineral Filling
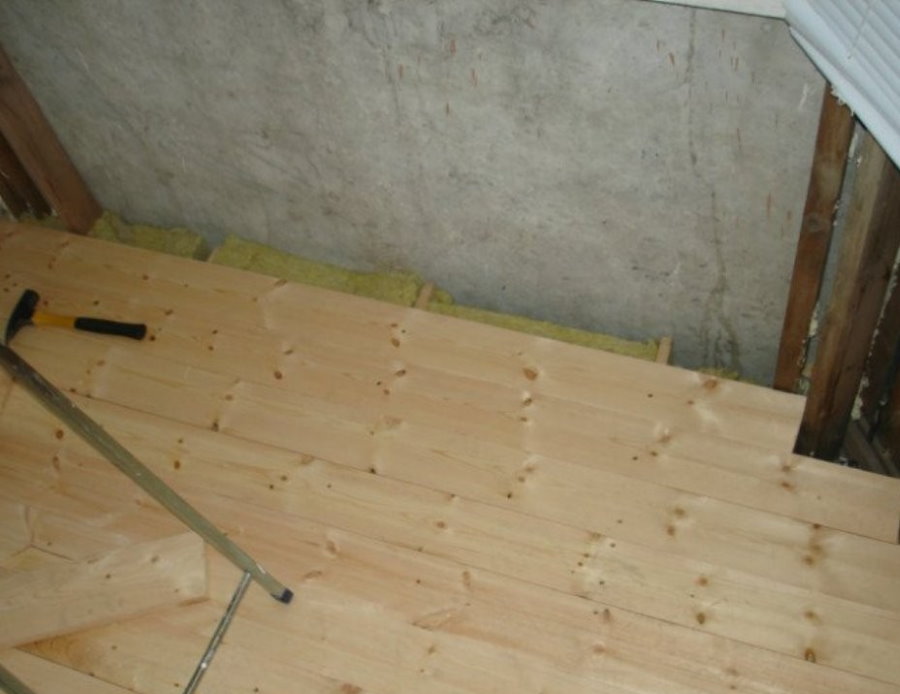
Finishing the insulated floor of a wooden lining
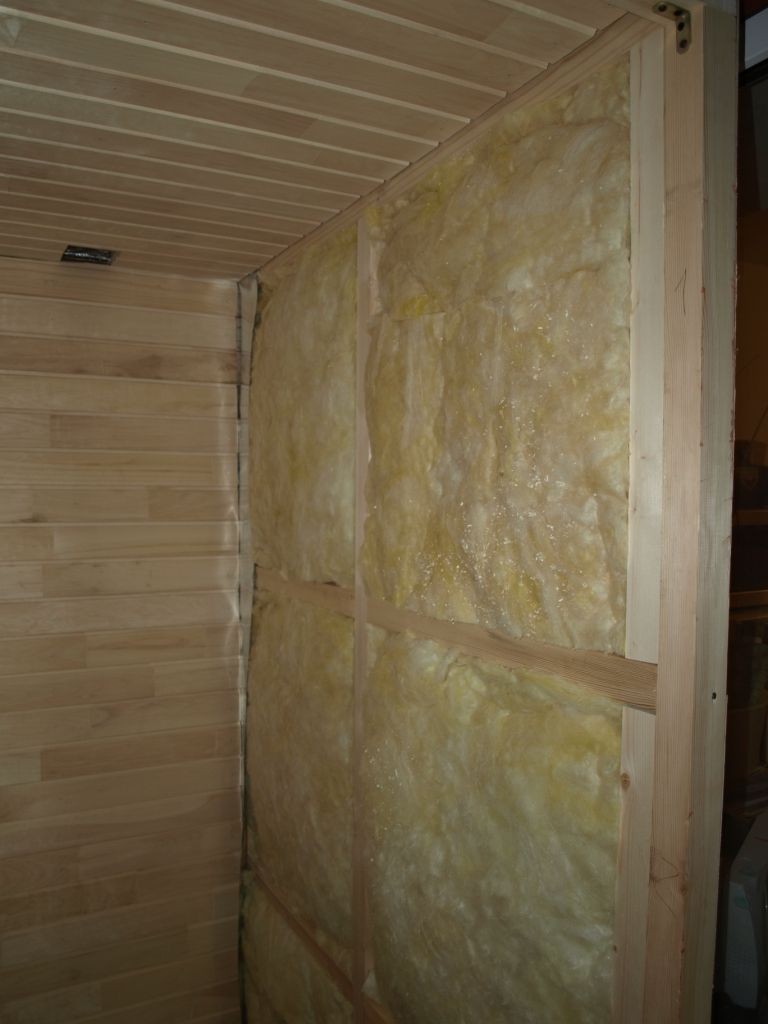
Wall decoration
When insulating the walls, you can use polystyrene foam, foamglass, penofol. The insulation is selected based on increased characteristics (at least 10 mm thick). To fix the insulation on the surface of the walls of the bars, you will need to build a frame with gaps between the slats of 40-50 cm.
The optimal cross-section of the bars for the frame of the walls - 50x50 mm
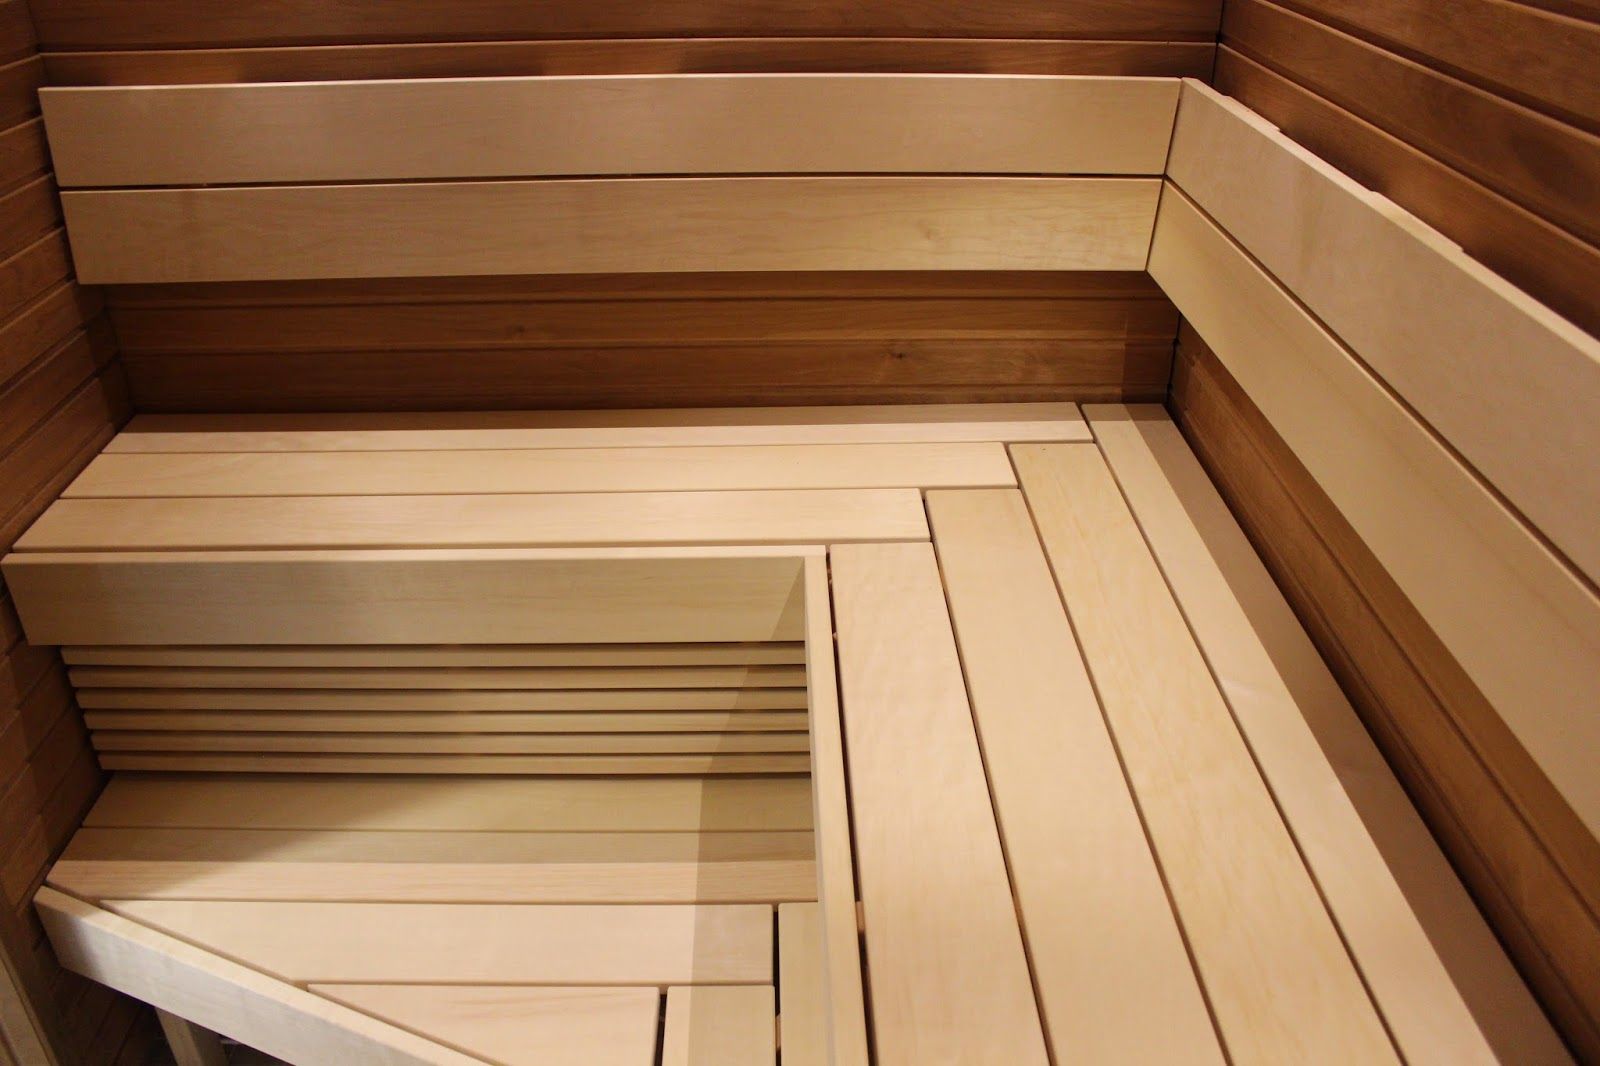
Insulation should be pushed into each such hole (in layers: basic material + vapor barrier + film + lining). It is important to choose a lining only wooden. It is recommended to consider hardwood. Conifers will give out resin, and in the future it will damage the sauna.
Filling the wooden frame with mineral wool
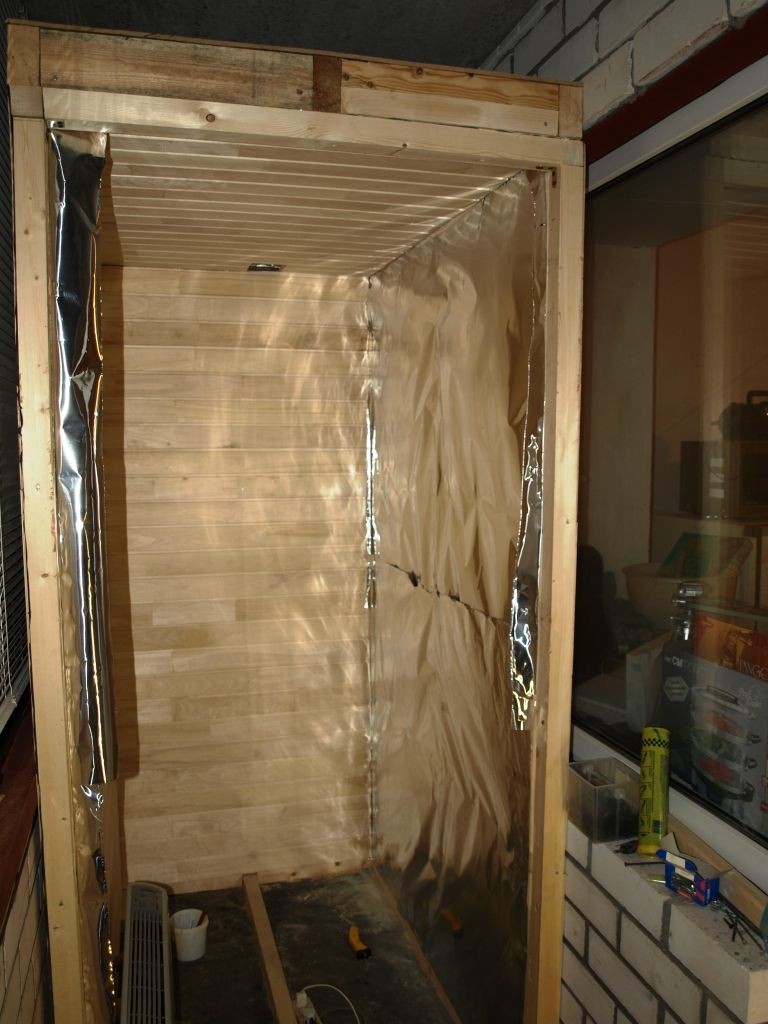
If polyethylene is used as a heater, then its surface must be fixed inside (the foil side will reflect heat). On top of it they stuff rails and mount the lining.
For vapor barrier it is better to use foil roll material
Internal insulation occurs along with the installation of insulation of the balcony itself. It is recommended that you choose a foil vapor barrier, because without it moisture will accumulate in the layers, which over time will lead to destruction of the material and loss of insulating properties.
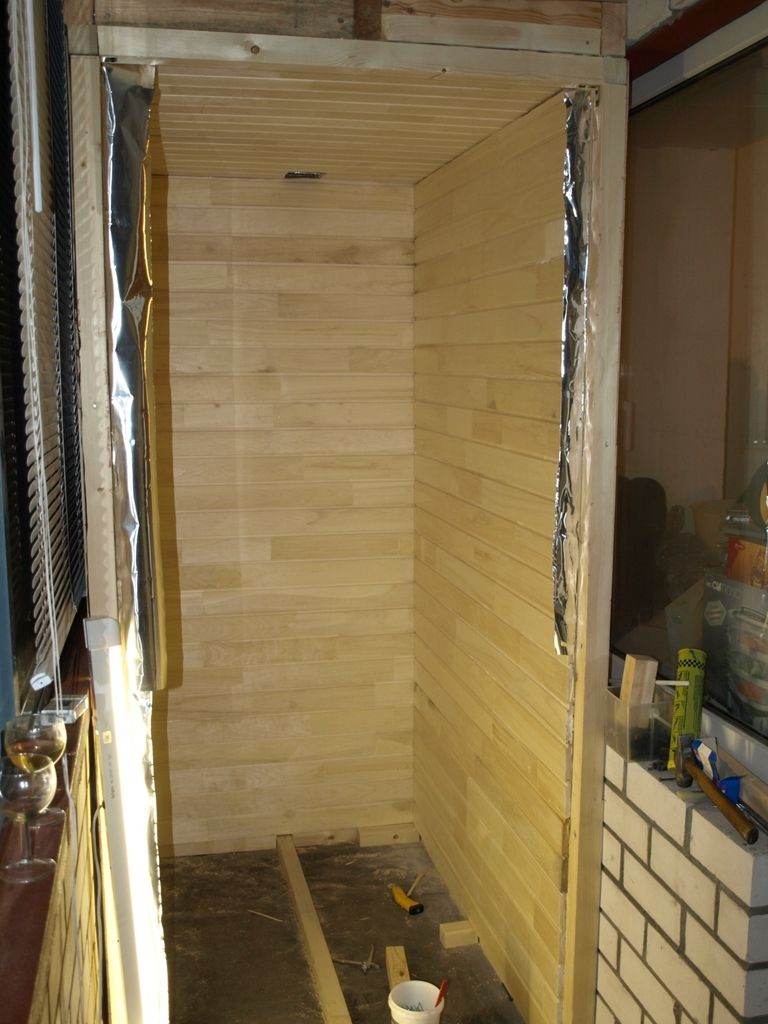
The last stage - wall cladding
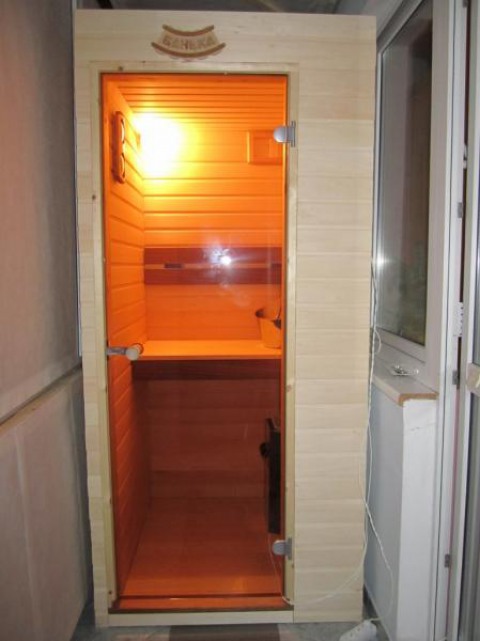
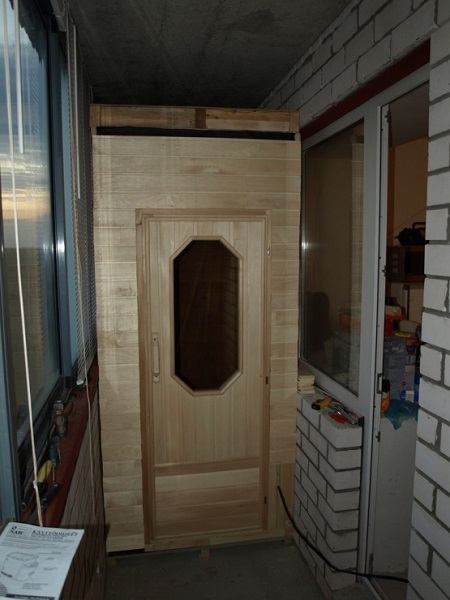
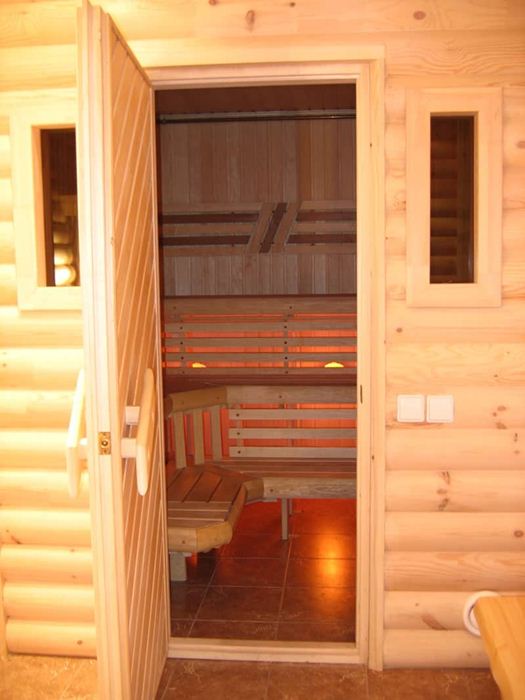
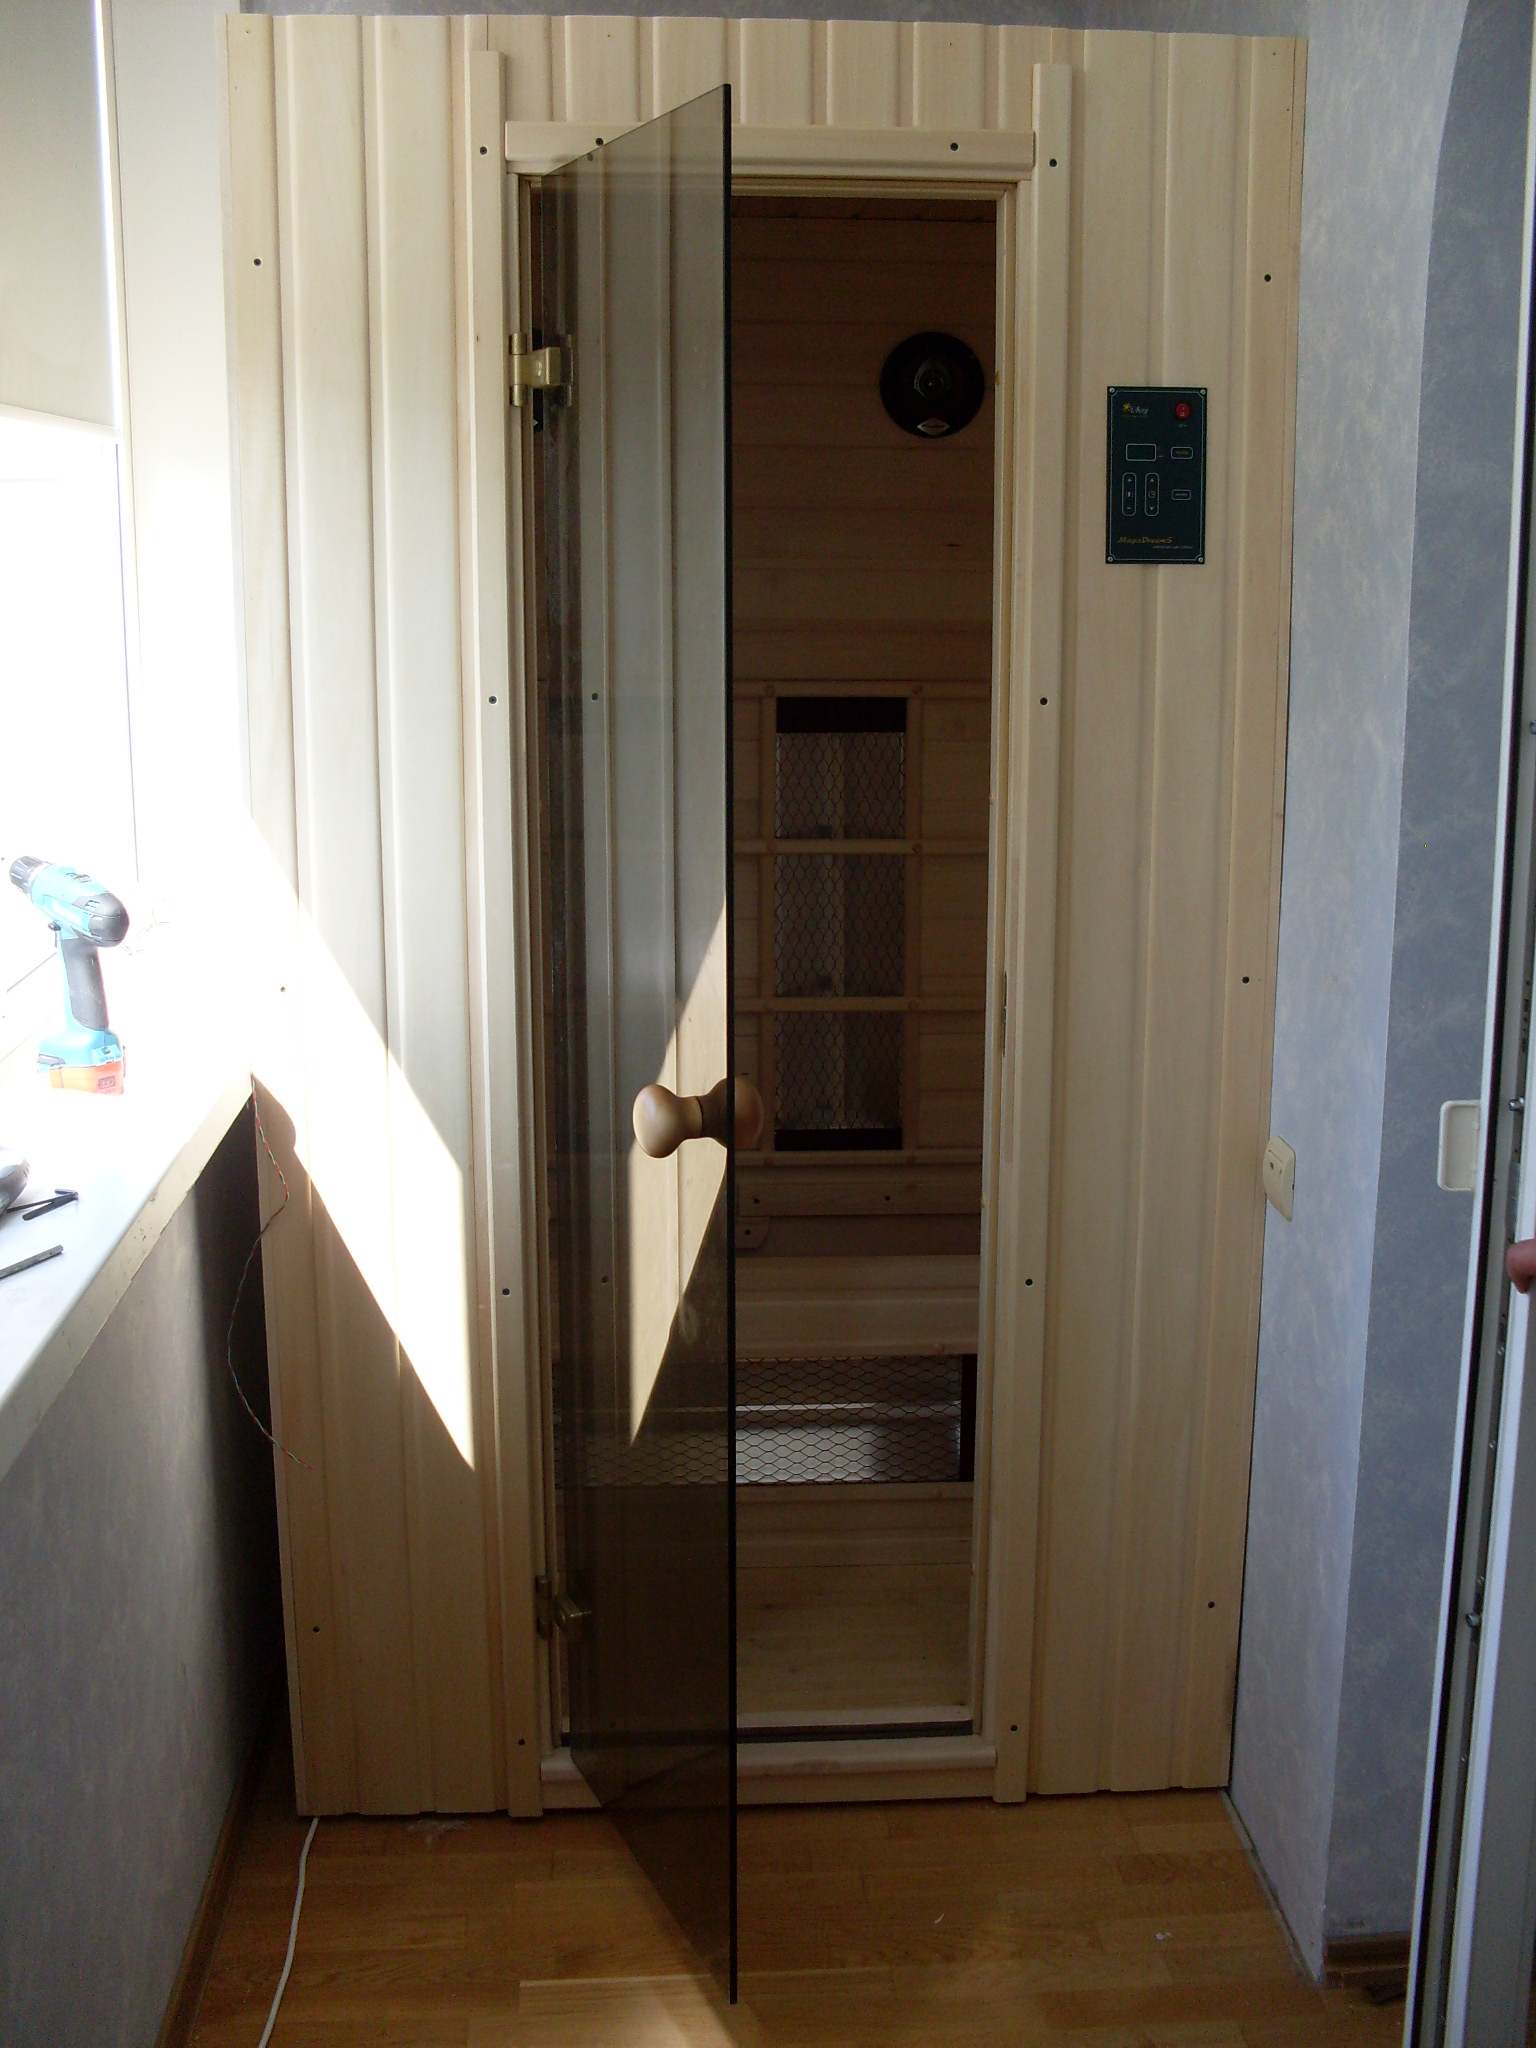
The doorway is formed by vertical beams with plywood sheets fixed on them (from 2 sides). Inside - insulation with a foil layer, outside - vapor barrier with metallic tape at the joints. The door is installed at the end of the work. We recommend installing an external latch.
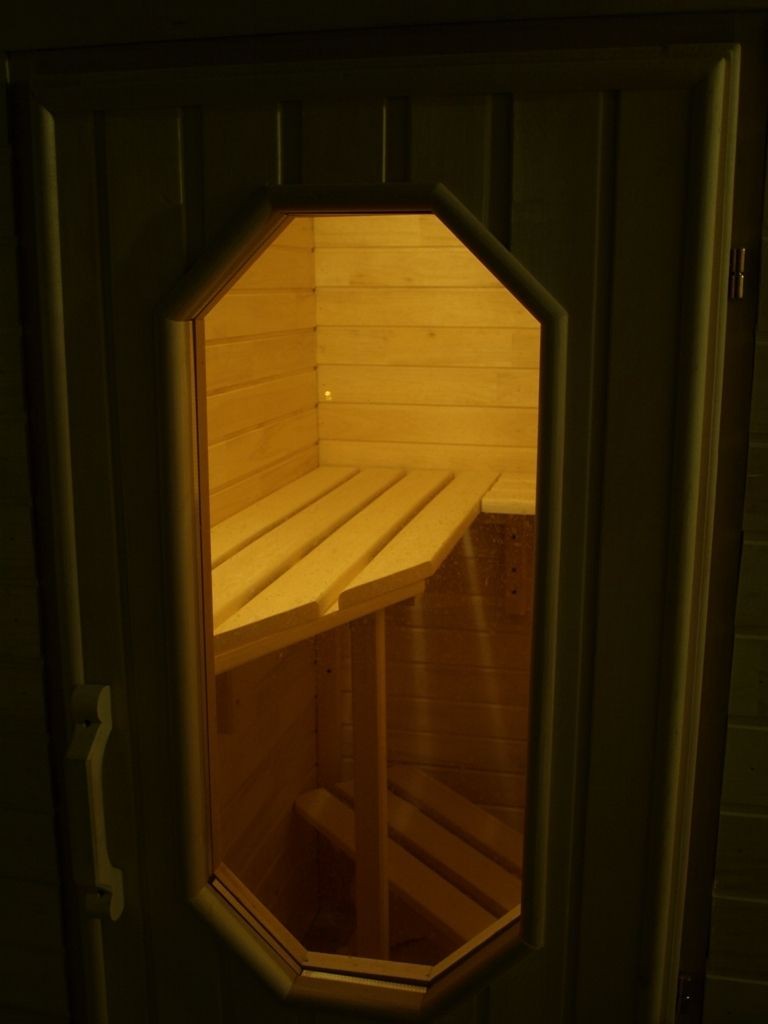
The door leaf can be blind or with a window
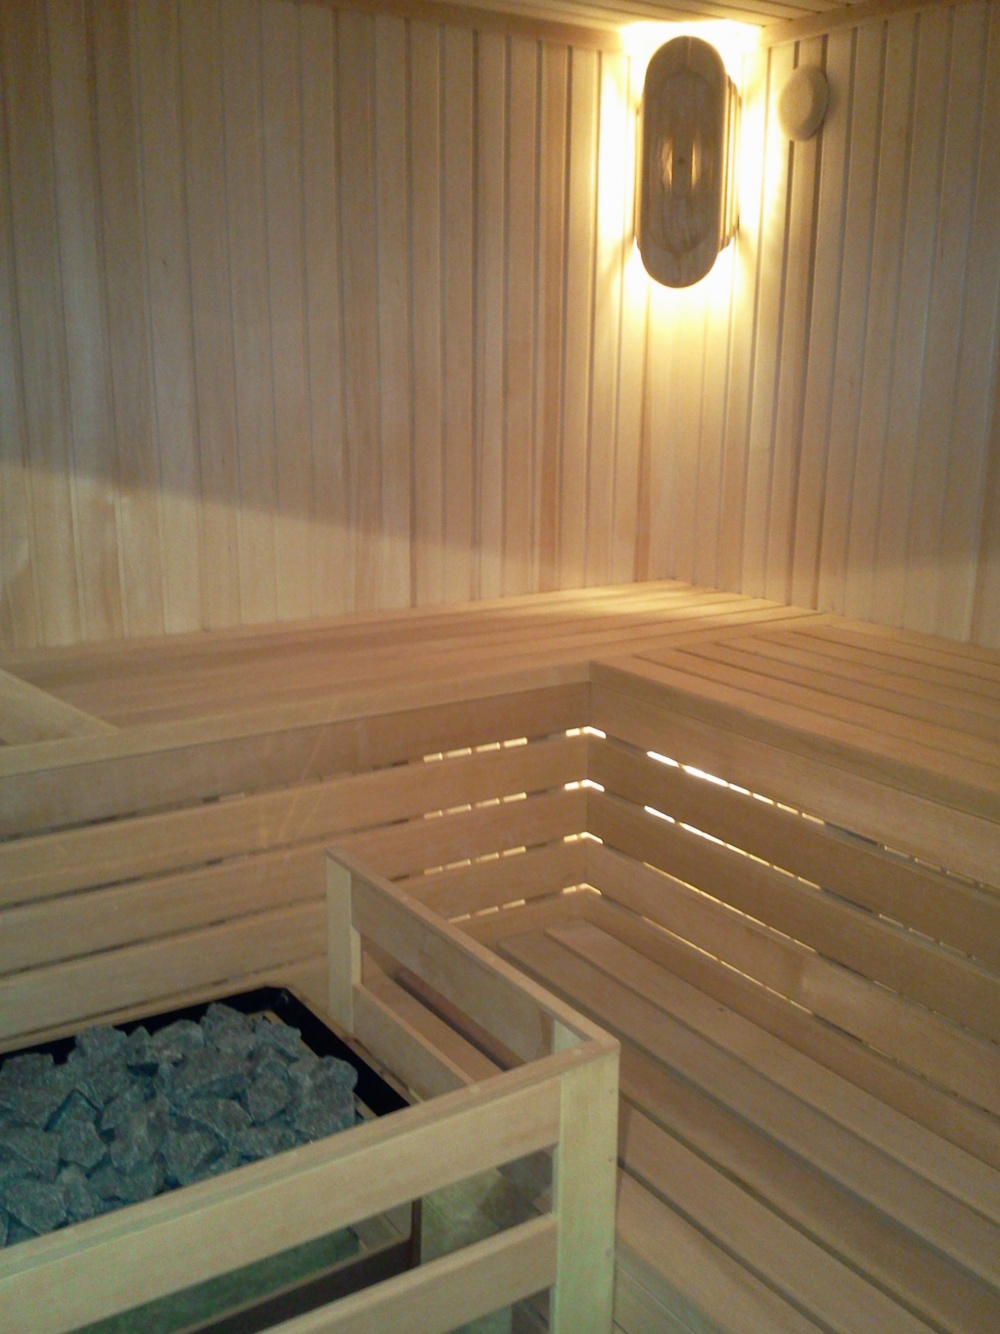
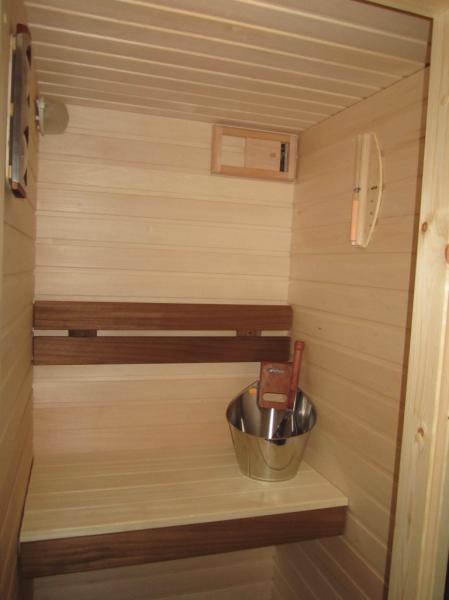
Steam room finish
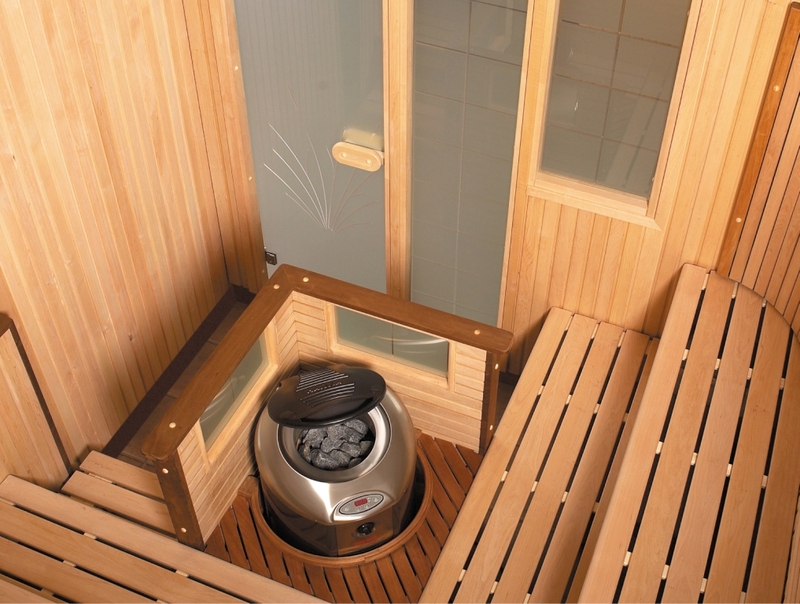
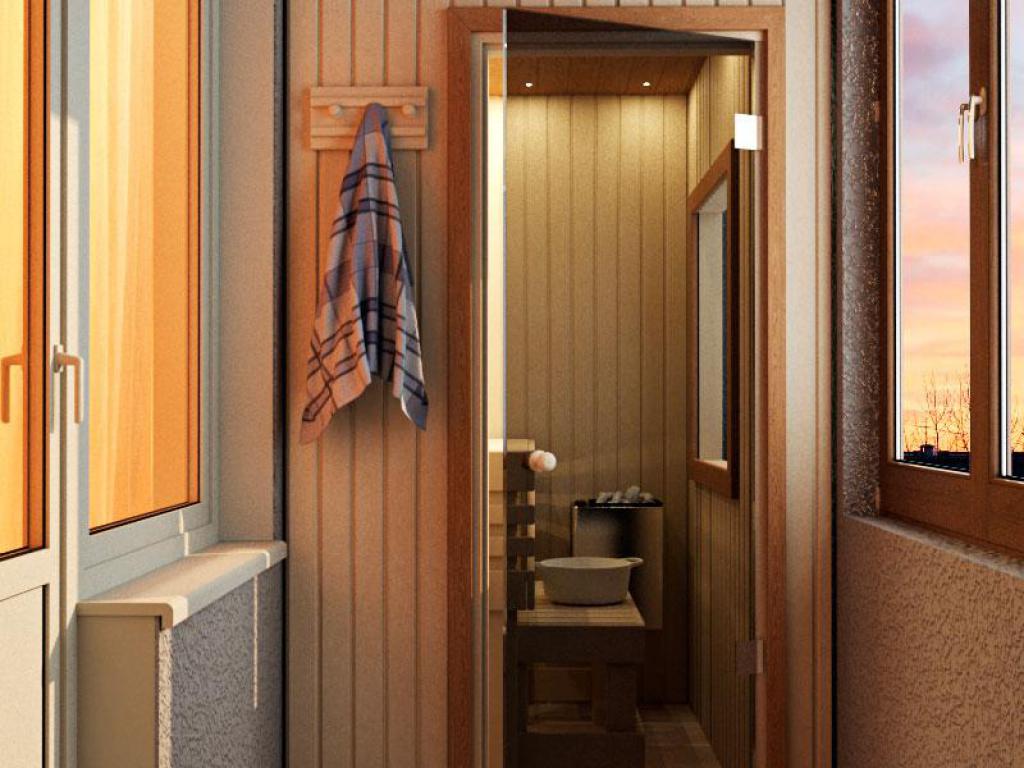
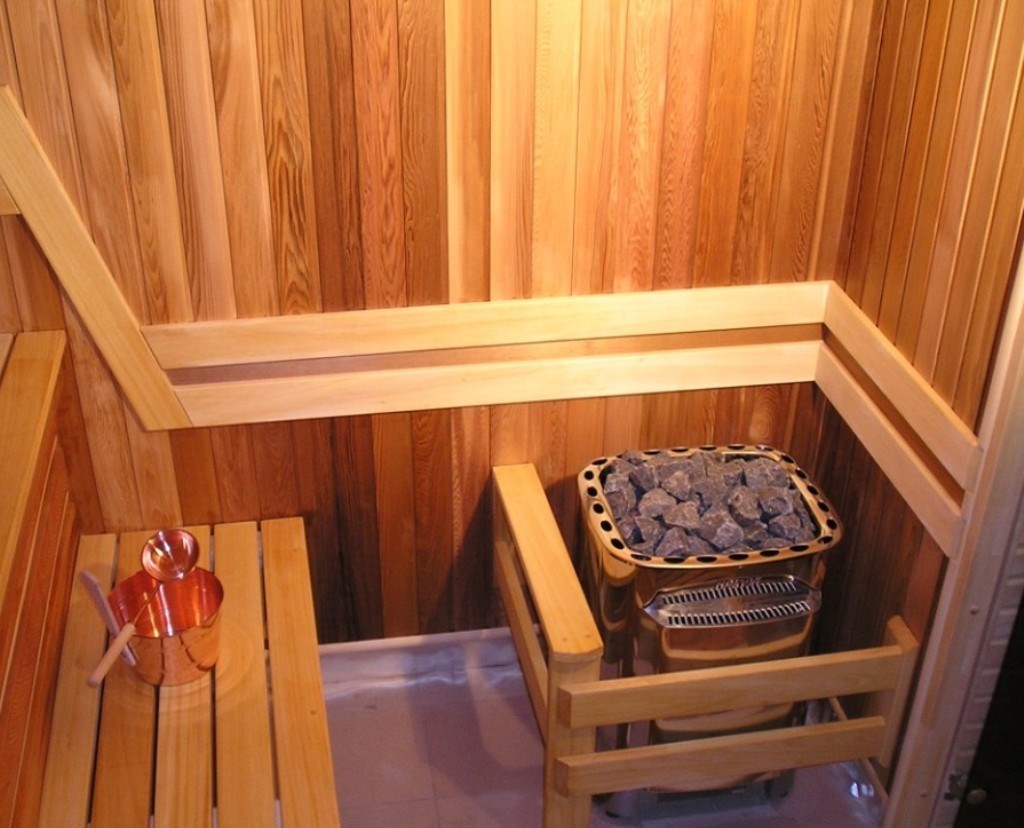
Before building a steam room, decide on a heating and heating system. In Russia, the everyday option is firewood with stones, on which water is supplied, the presence of a bath broom. In Finnish baths a little different. Usually they have an electric furnace that delivers dry heat. The advantage of this option is that it significantly saves squares, does not require cleaning ash and quickly heats up.
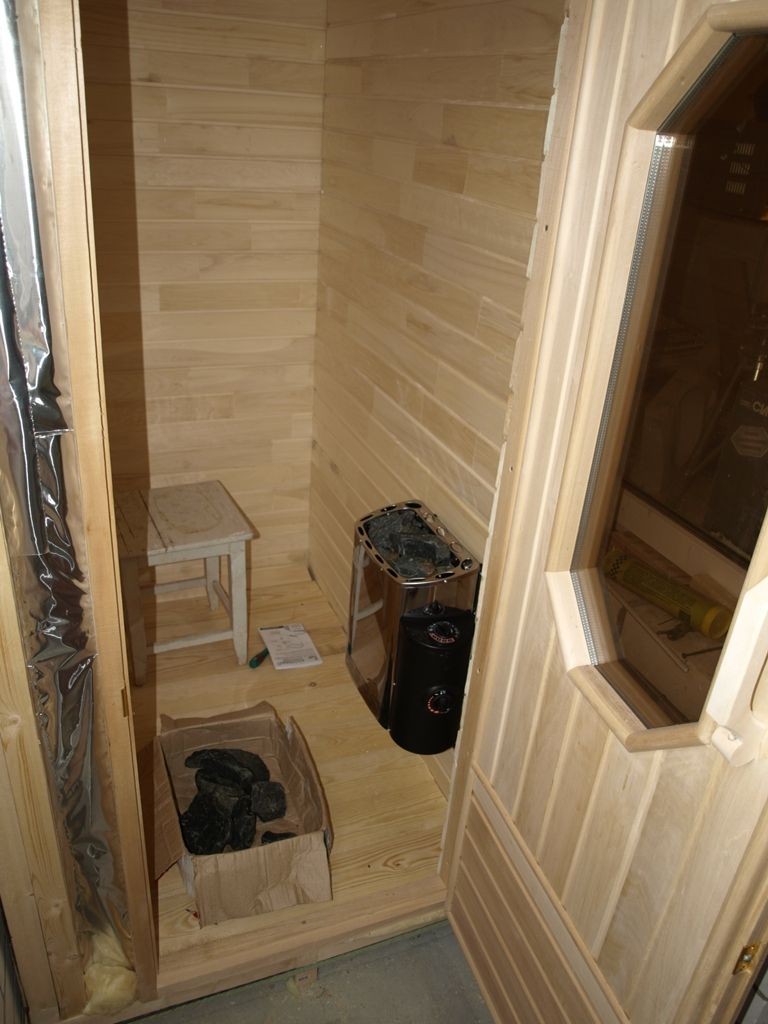
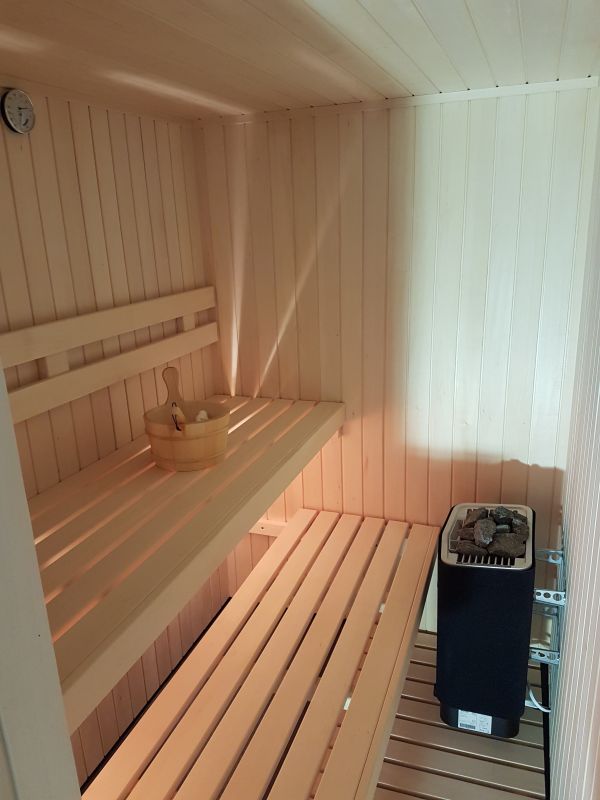
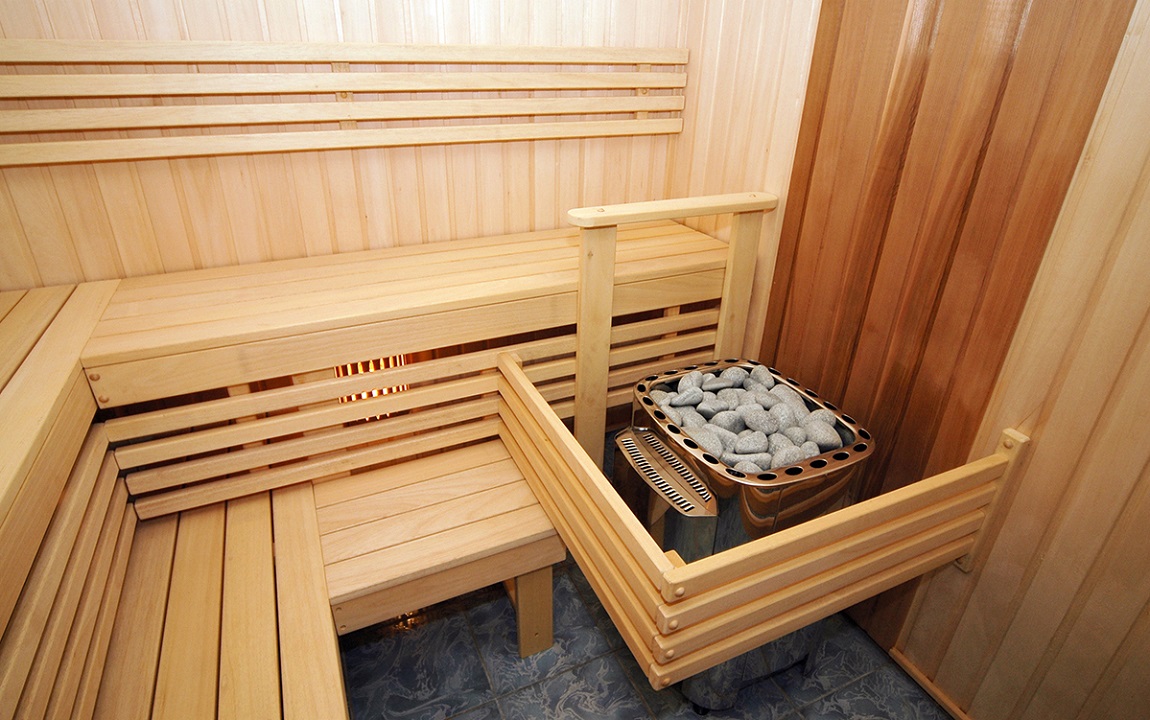
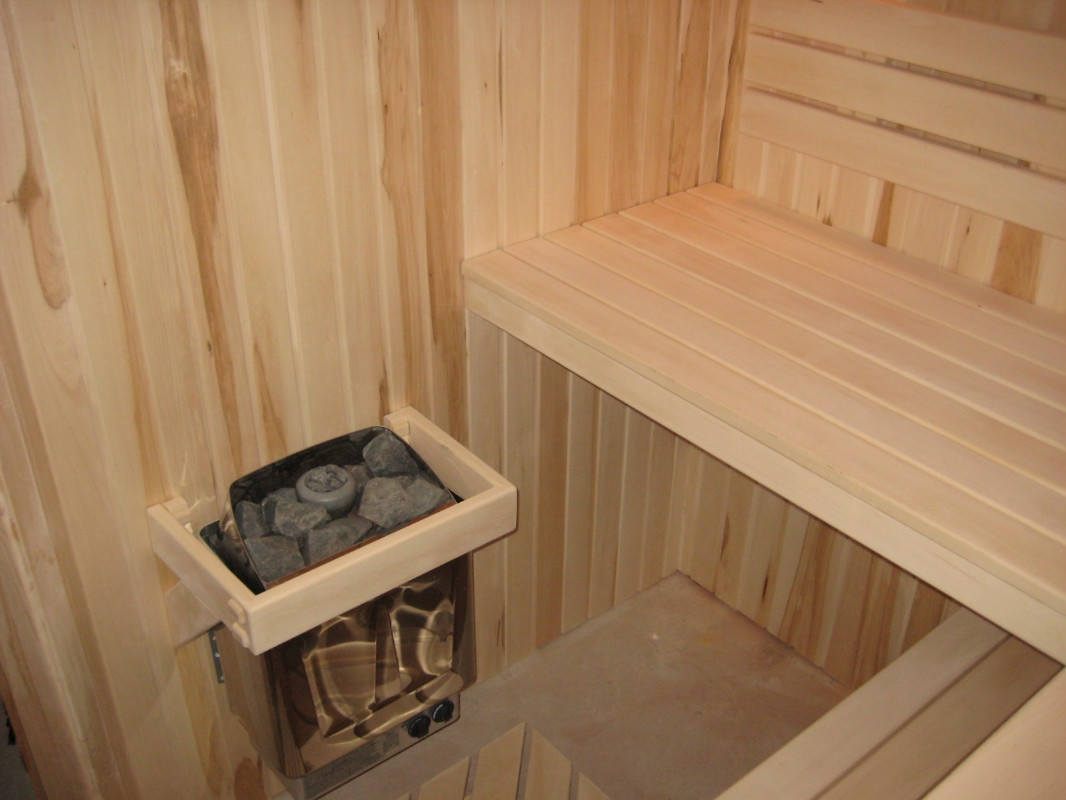
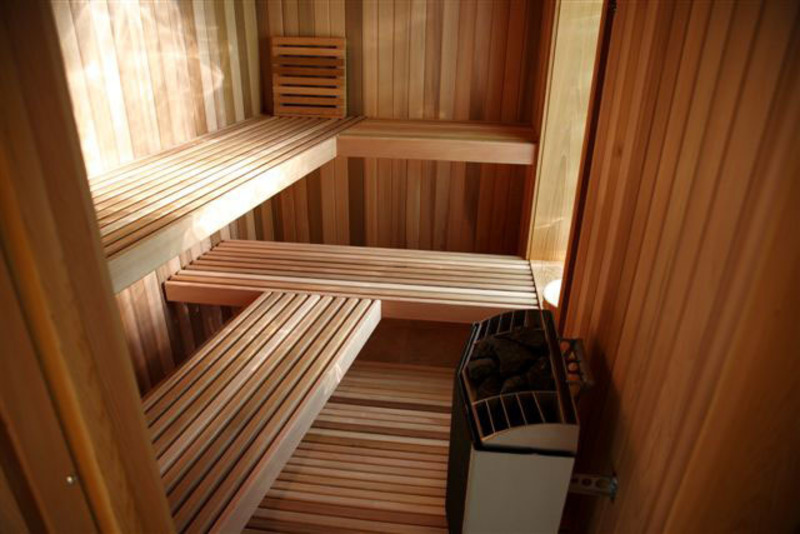
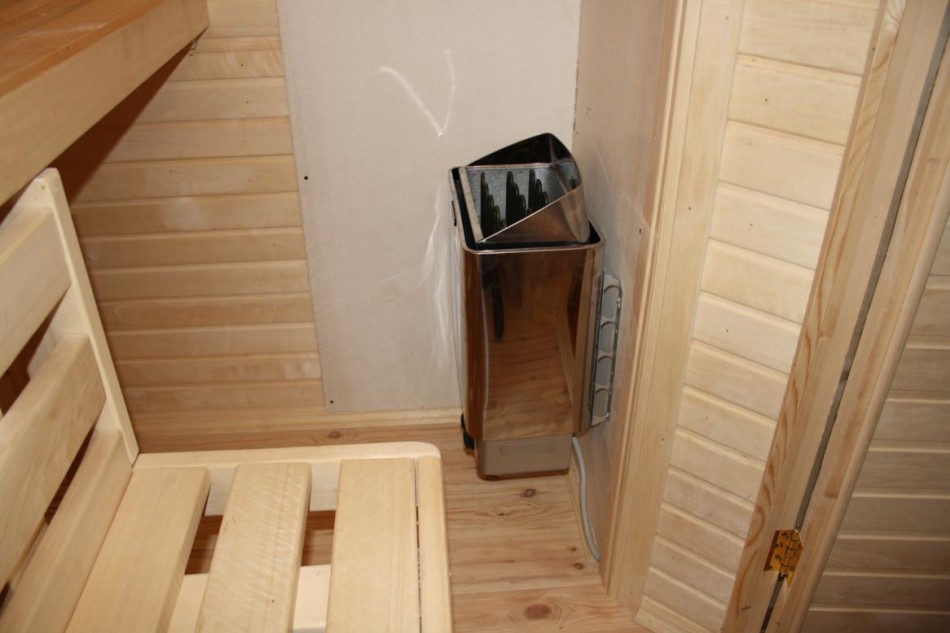
The sauna heater is the main heating element in the sauna steam room
It is better to choose a furnace with a power of 3 - 4.5 kW, and this will be enough. Stones can be placed on the grate (no more than 15 kg). Mount near the door, close to the partition. Power supply is supplied by a cord.
For safety reasons, floors and walls are equipped with refractory memorials (such as ceramic tiles or metal sheets), and it is enclosed by hardy wooden railing.
You cannot use the stove without stones, there is a risk of fire!
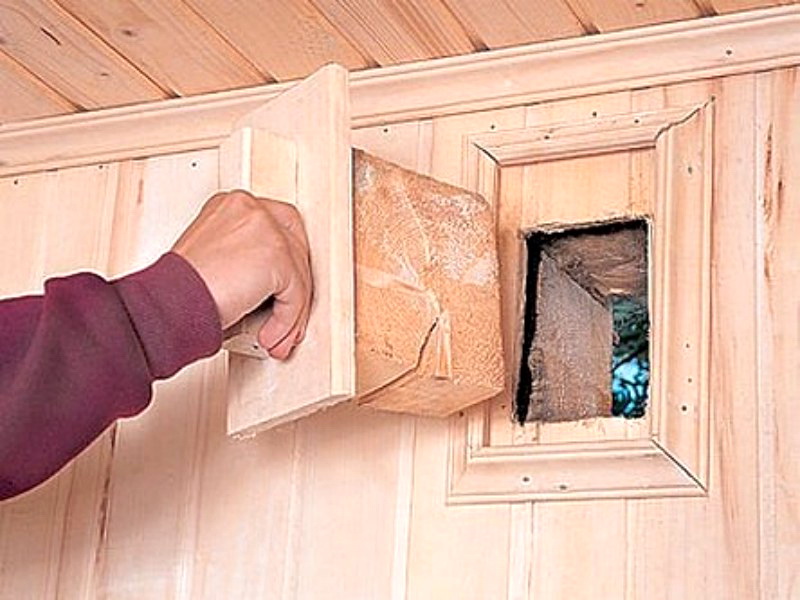
The steam room on the balcony must have ventilation! She lets off steam and smell. Equip the ceiling and ventilation in parallel. An exit plug will be required for the outlet (ideally made of polystyrene foam). It is advisable to subsequently ventilate the room after each bathing procedure.
The vent plug can be made from suitable pieces of wood.
Before processing the walls, you must install an electric meter and wiring. When installing wiring in the steam room, it is important to determine where the wires will go. From the switchboard, the cable must go with a safety switch.
In order to avoid circuit wiring, it is equipped with an RCD disconnect device (they put a shield and an automatic machine at 25 amperes, make wiring in an electric point).
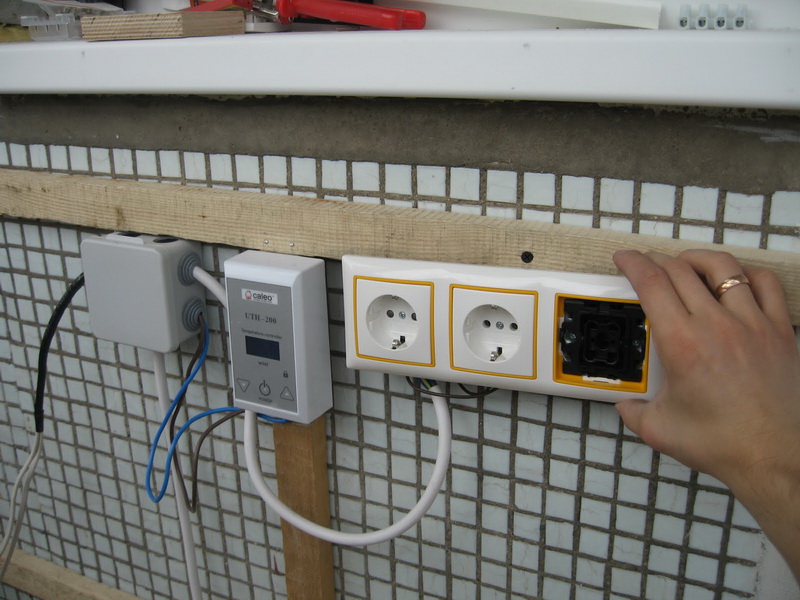
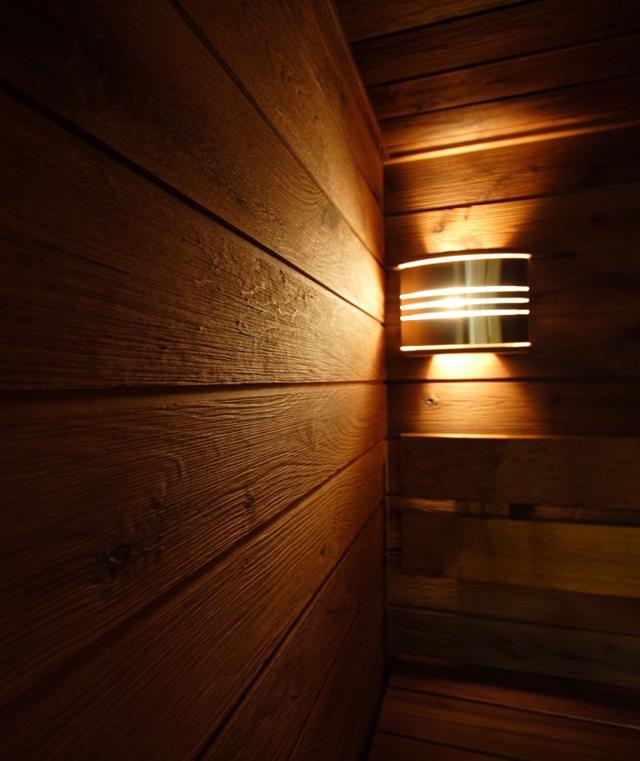
Inside the steam room it is better not to install sockets and distributors. And so that there is light in the steam room, you can use spotlights closed (lights inside, and switches outside!).
Outlets and other electrical equipment installed outside the sauna
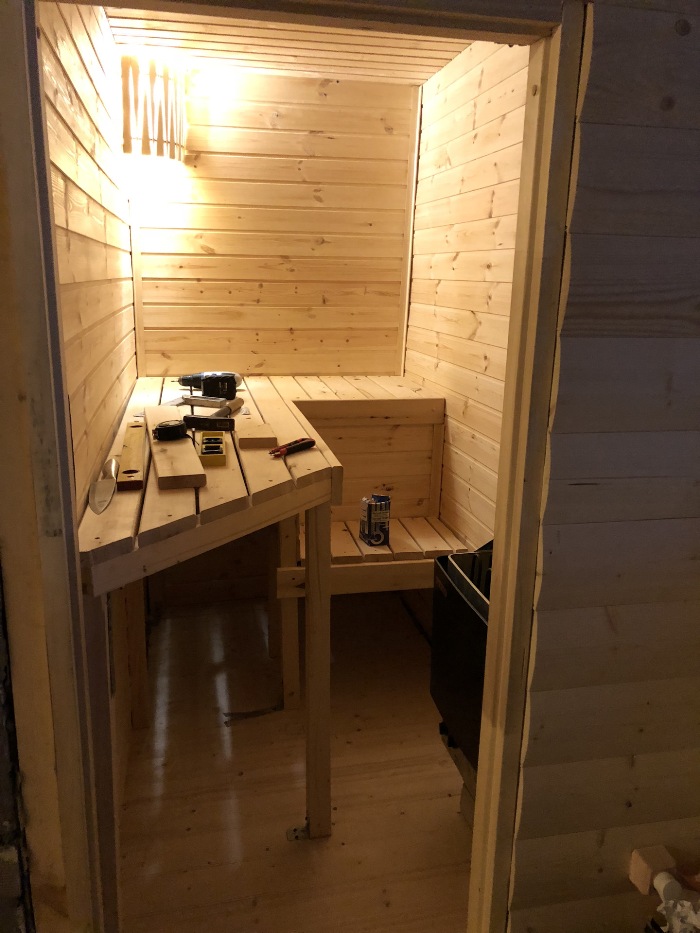
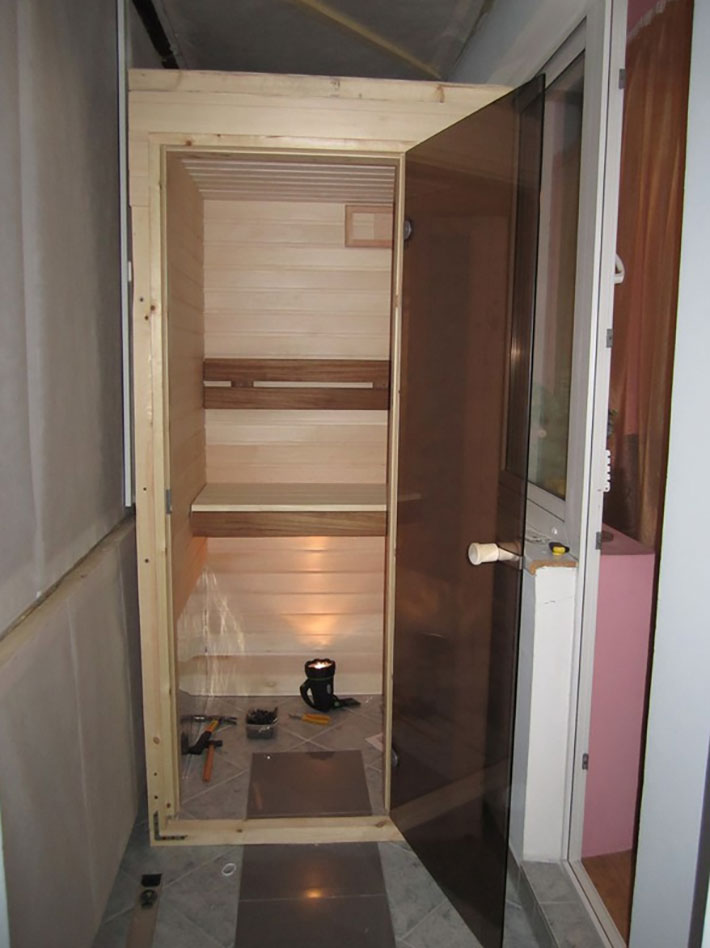
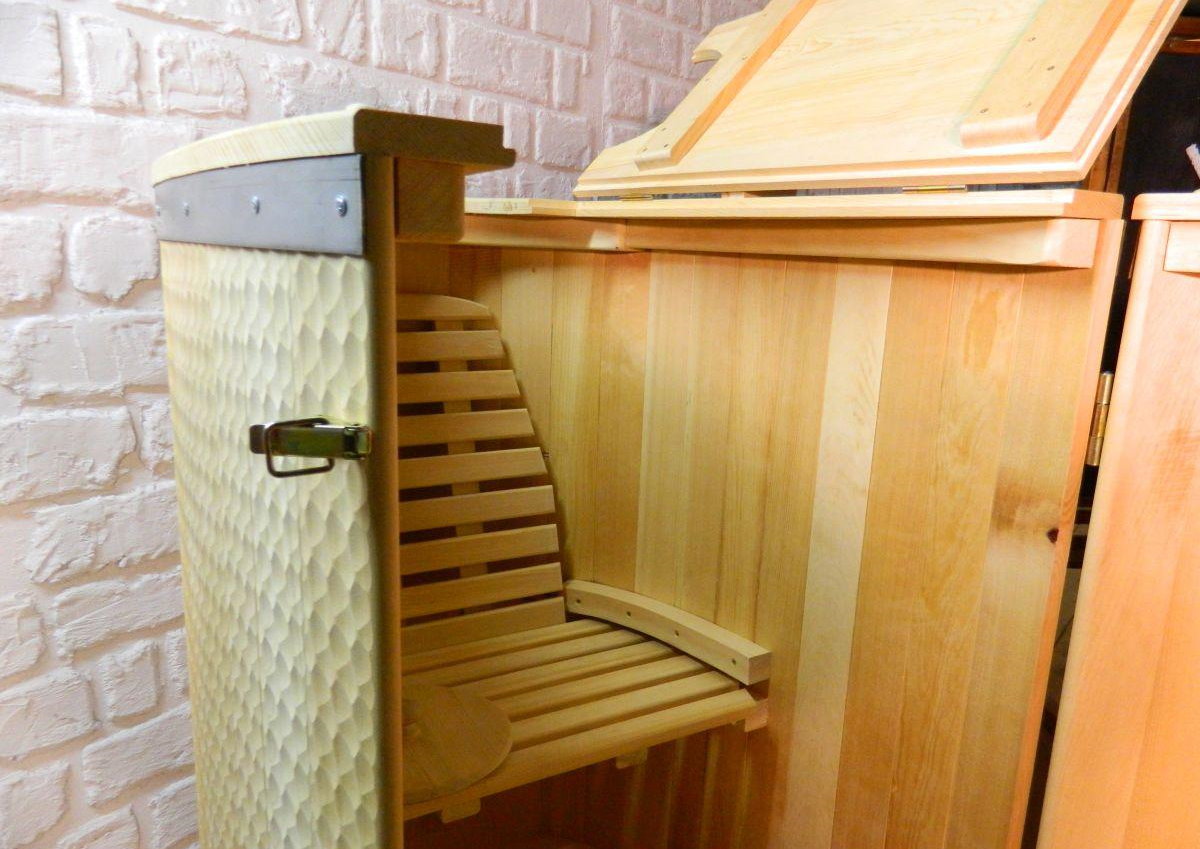
In general, you can buy a made mini-sauna. As a standard, its dimensions are 80 cm wide and 2 m high. It stands decently. But if the budget does not allow, you can make it yourself.
The nuances of the design of the sauna on the balcony
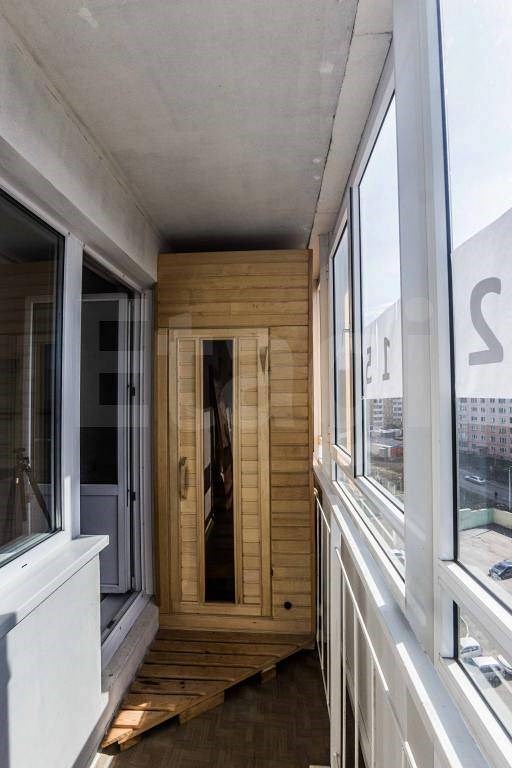
As already mentioned at the beginning of the article, it is legal and possible to arrange a sauna on the loggia (can be seen in the photo). True, you need to run around the courts and ask for permission. Yes, for additional square heated meters you have to pay. A gross violation of security will be if the steam room is equipped with switches, wires, junction boxes!
For lighting, steam rooms use closed fixtures with water protection
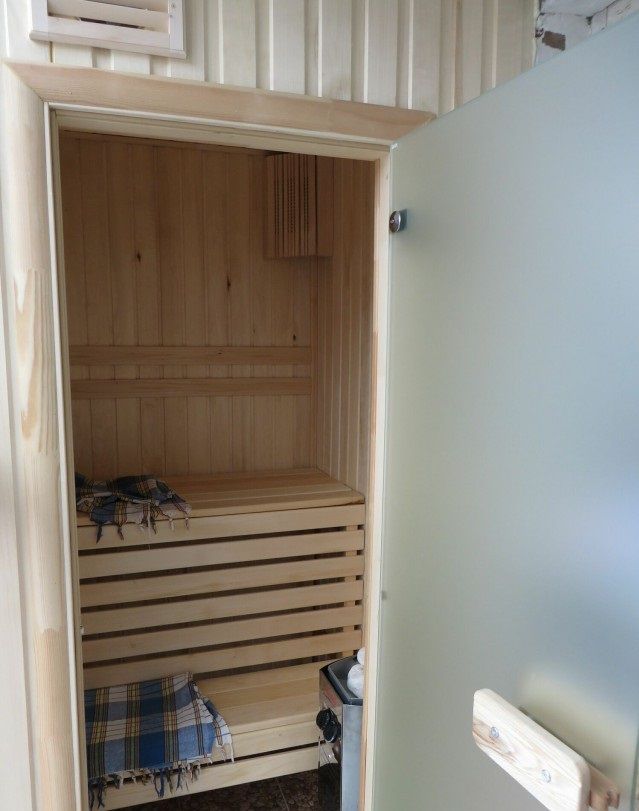
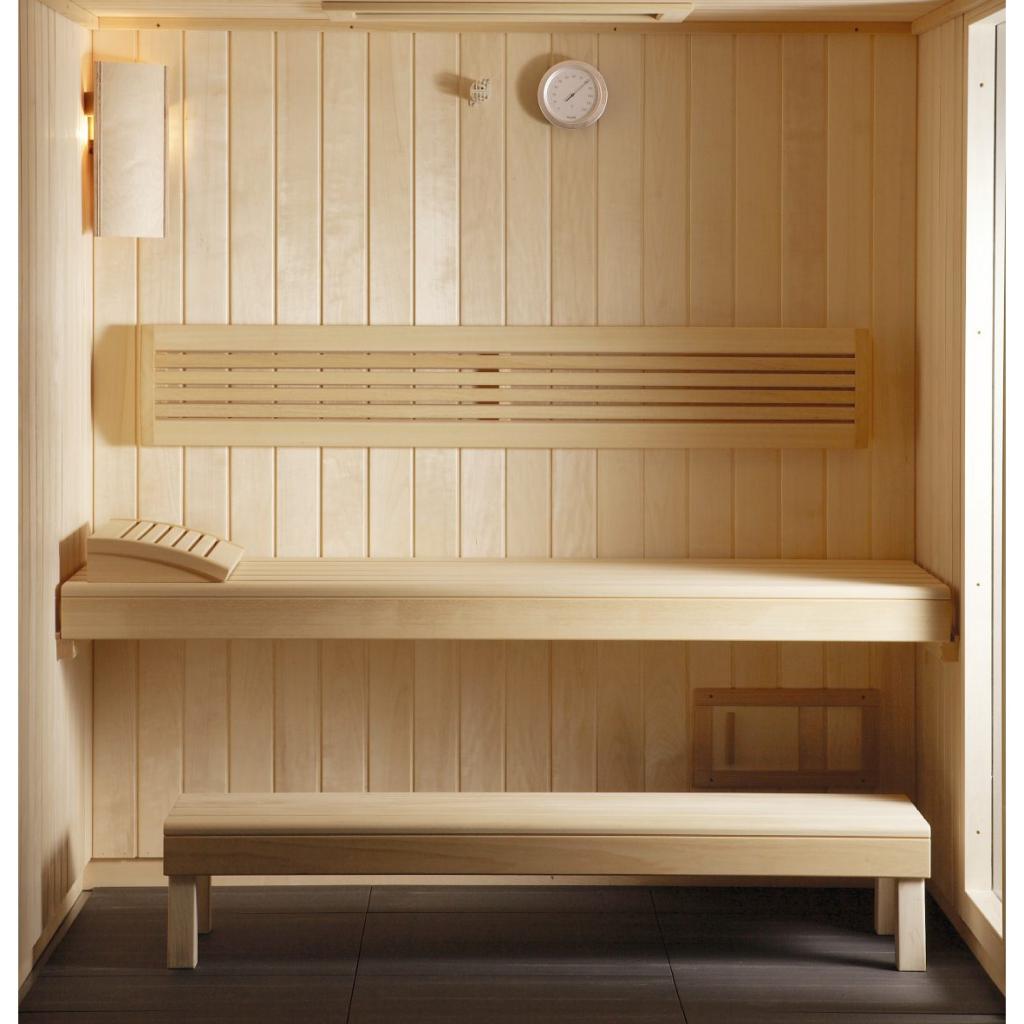
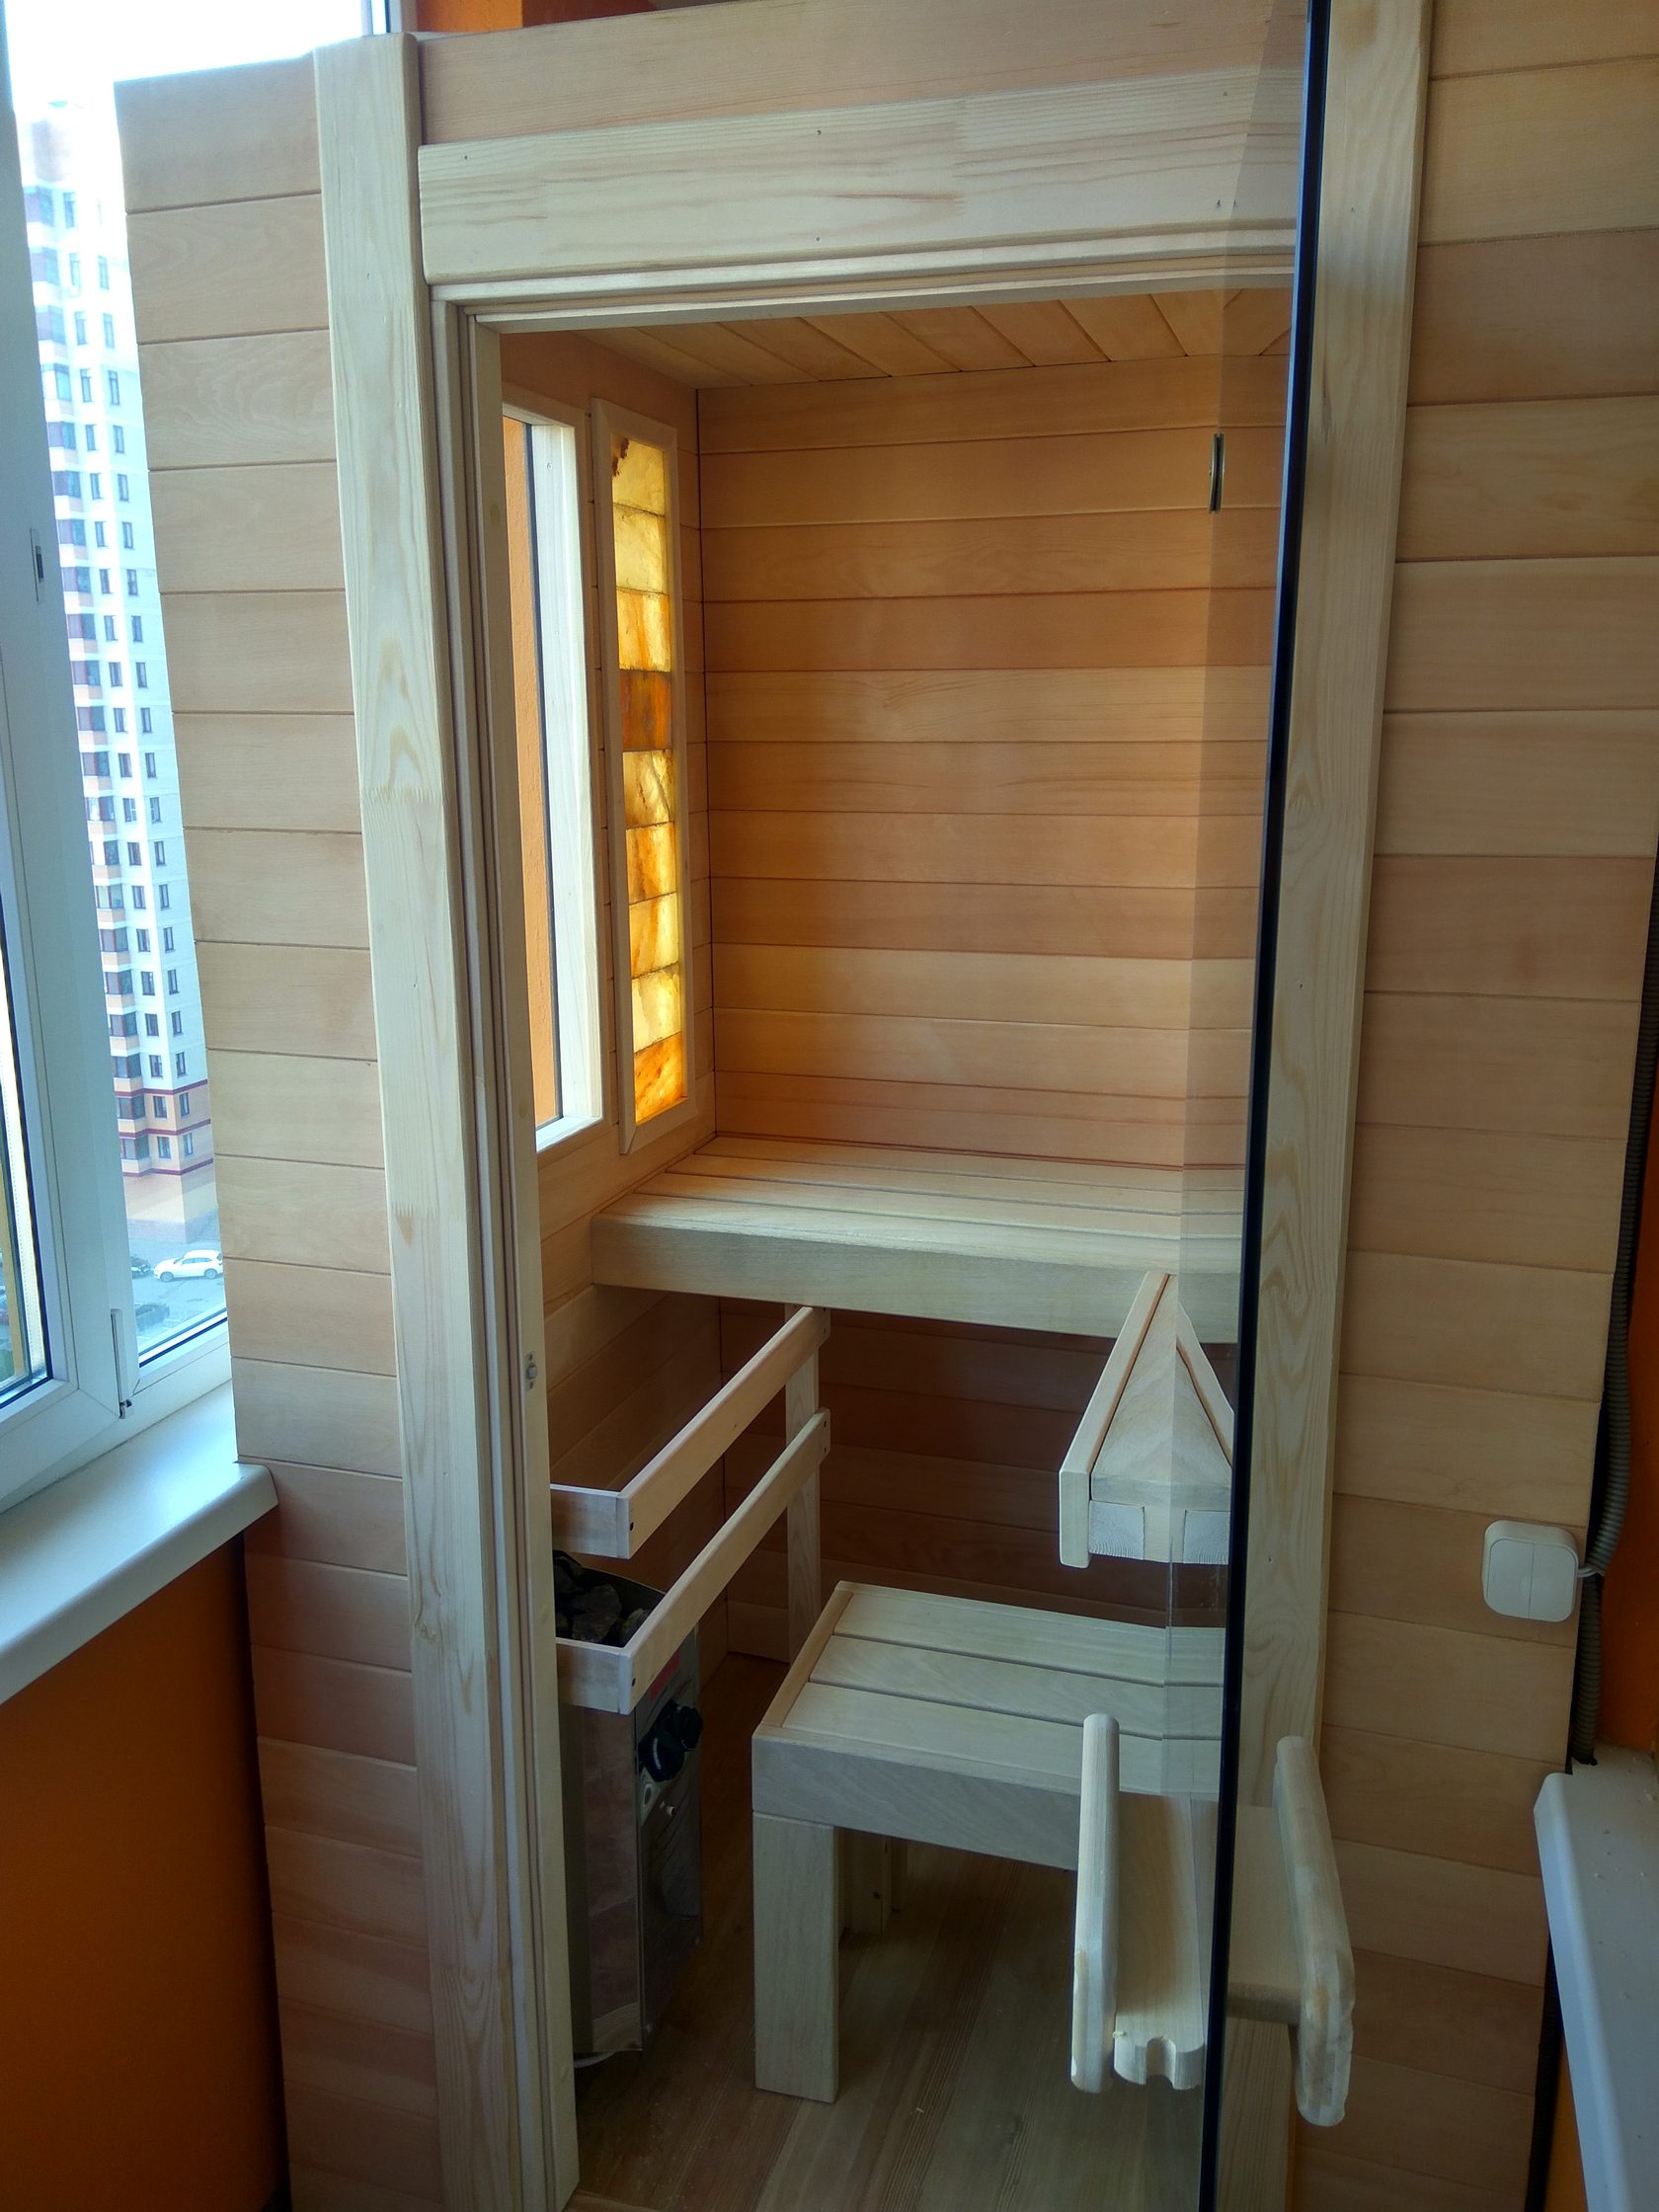
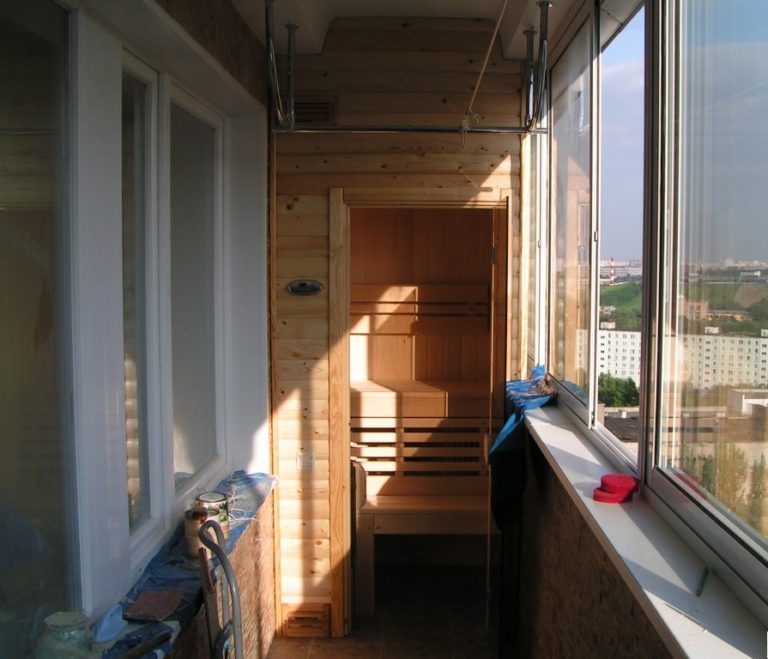
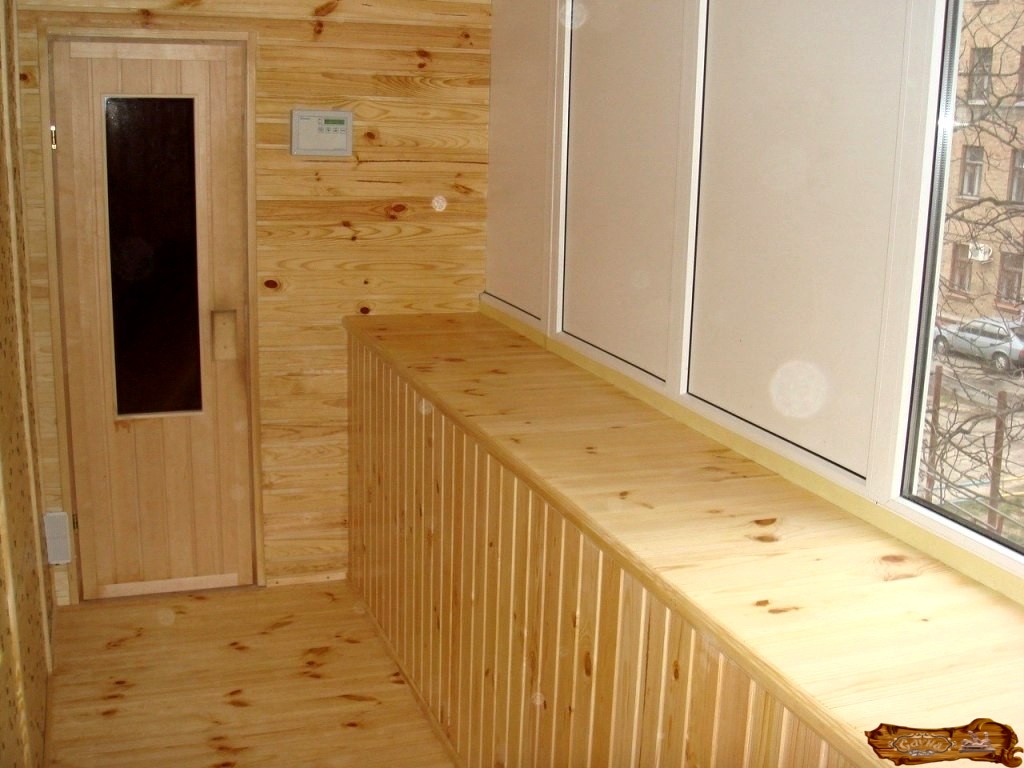
Mini-sauna in the interior of the balcony
If you have a large loggia and want to build a sauna, then what is the problem? If there is only a sauna, and there will be no washing as such, then everything is possible. Naturally, if the balcony is glazed, and you ventilate it. For example, a balcony 6 meters long, one and a half wide. The loggia sauna will stand in a corner, approximately takes about 3 meters. But 3 meters still remain! Even if there is no heating on the balcony, you can not worry, but put an electric gun at 2 kW. A small sauna will not spoil the view. On the contrary, it will add unusualness to the interior of the balcony.
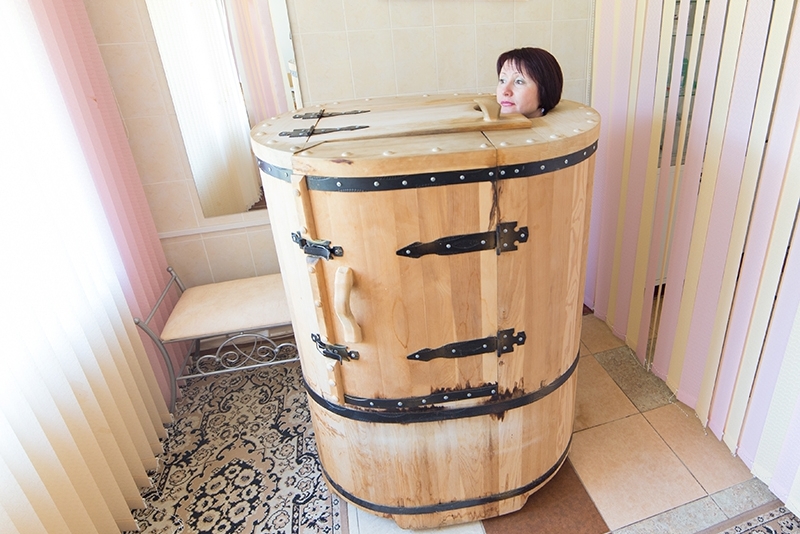
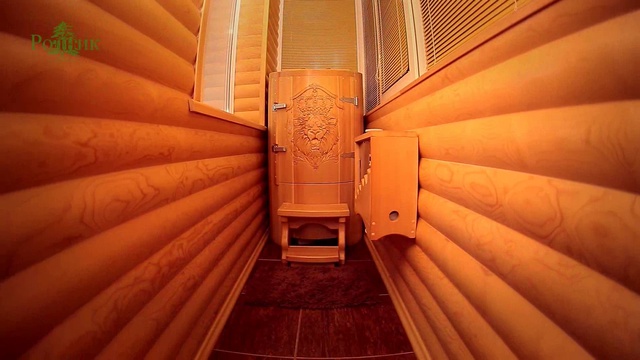
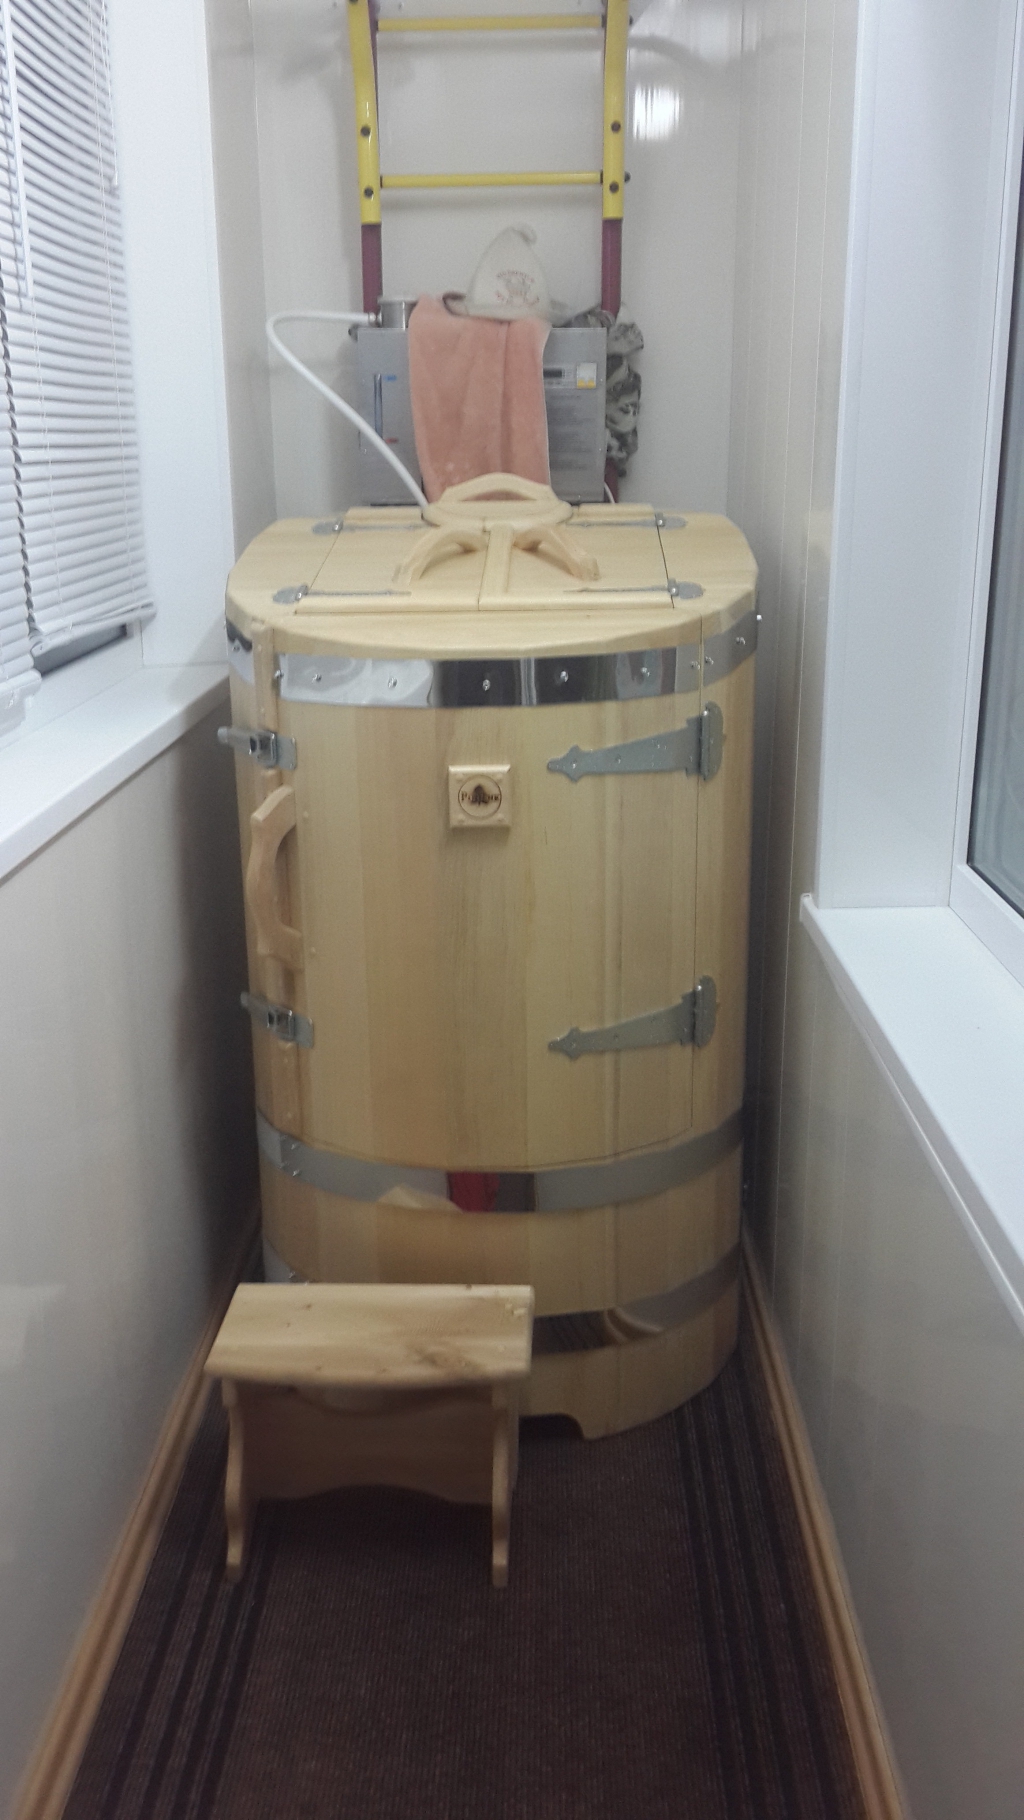
Recently, mini-saunas in the form of a barrel have become widespread. This design easily fits on any balcony or loggia, and by the healing effect it is close to a Russian bath
Placing a sauna on the balcony and loggia
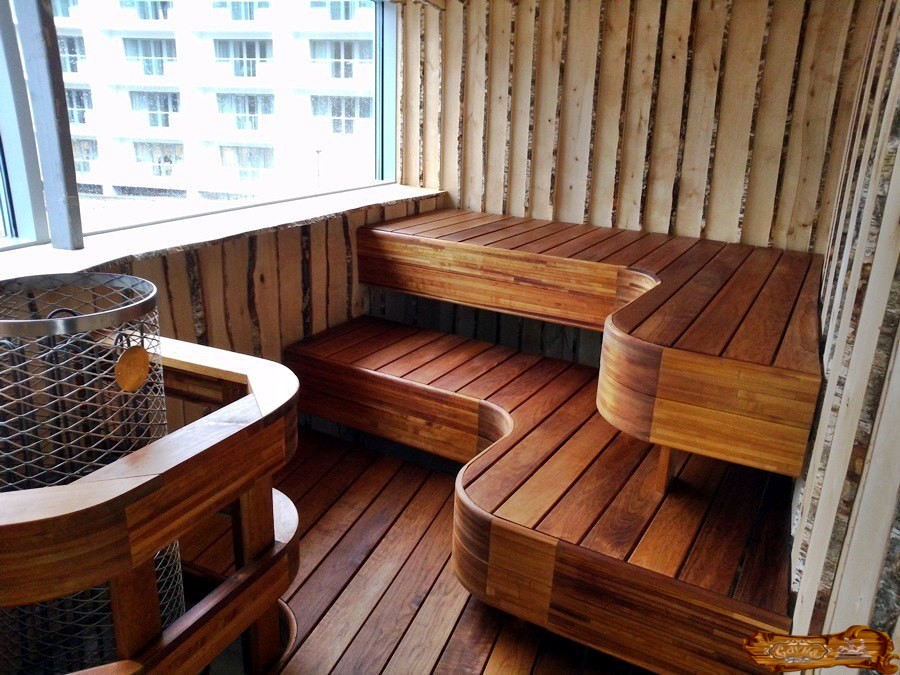
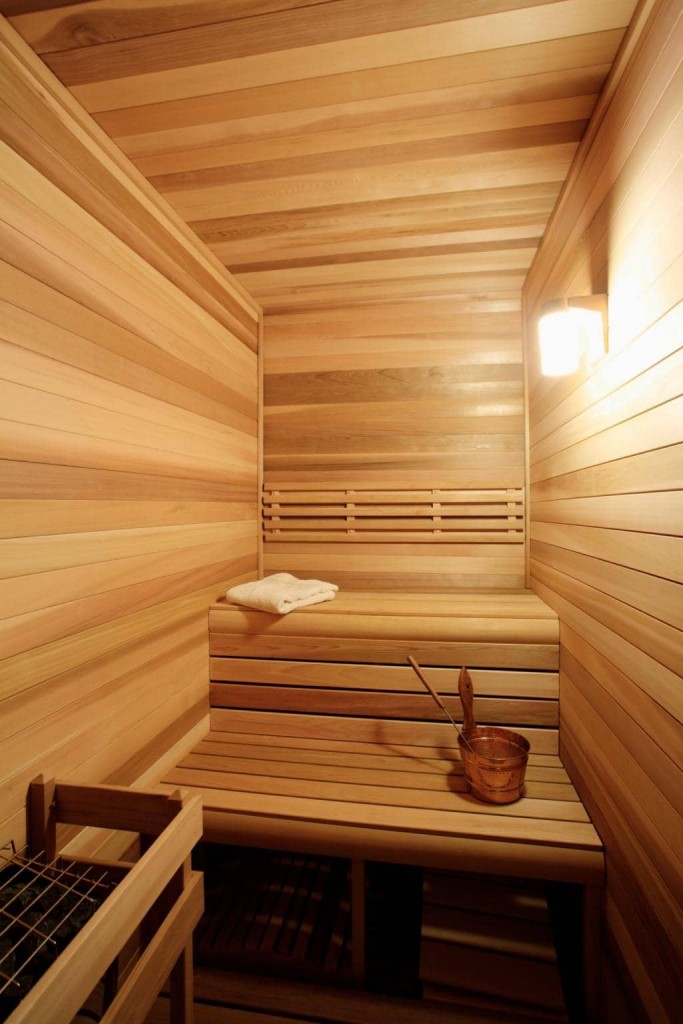
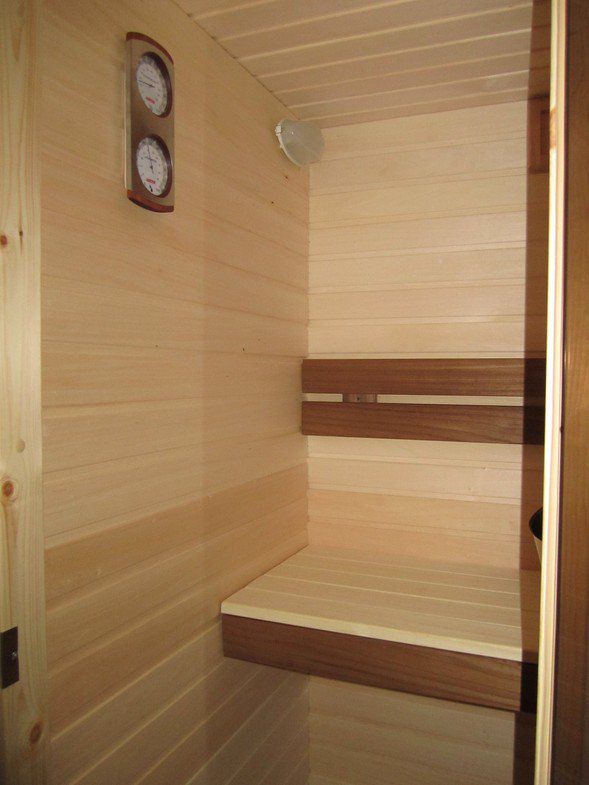
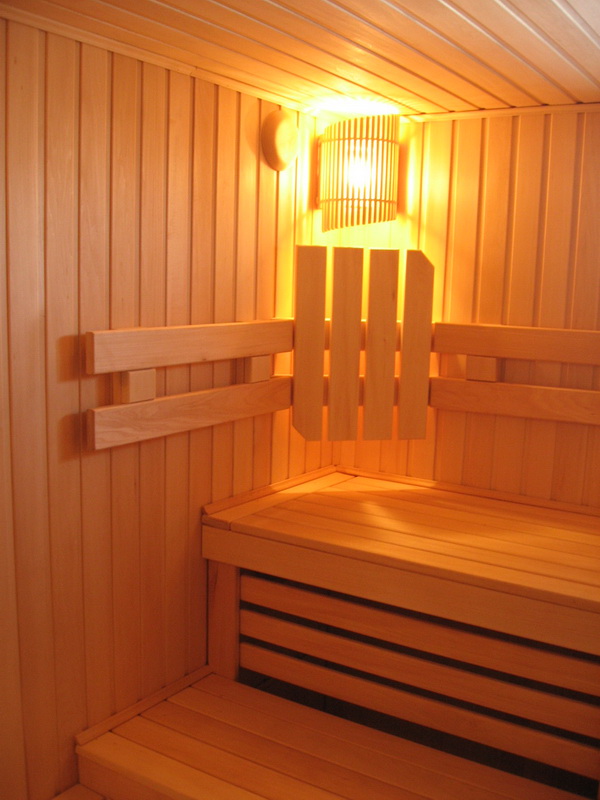
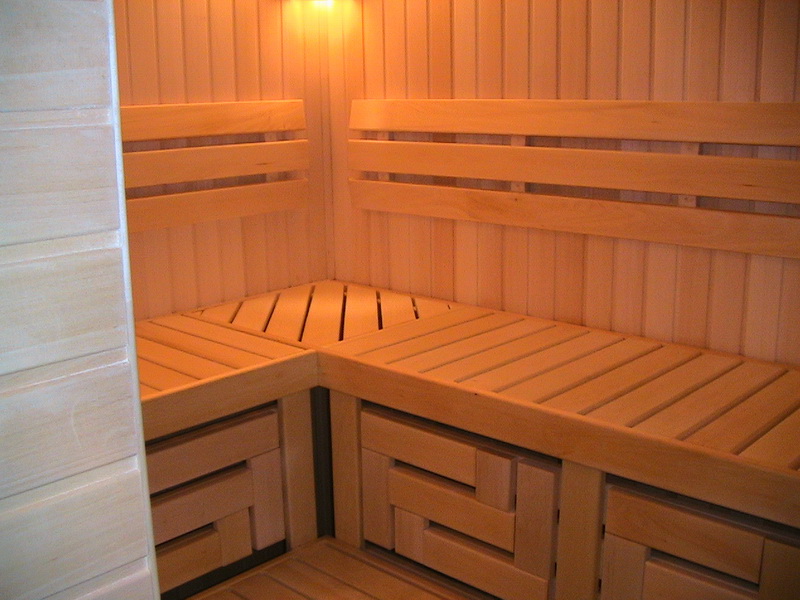
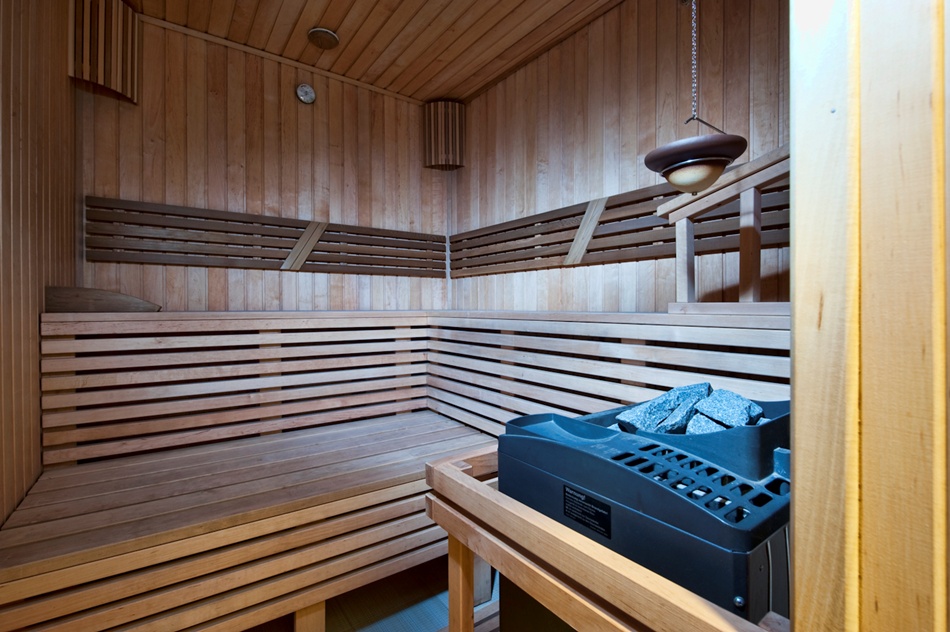
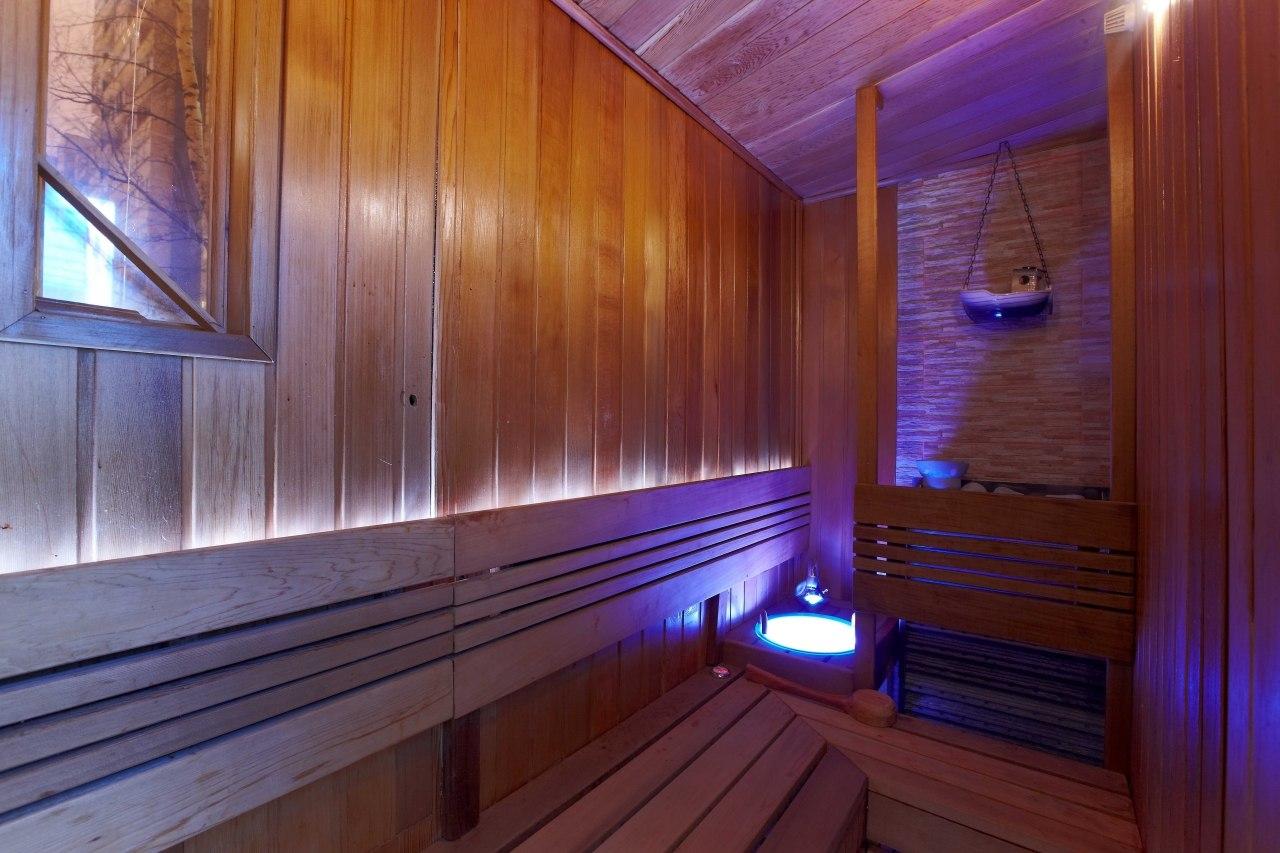
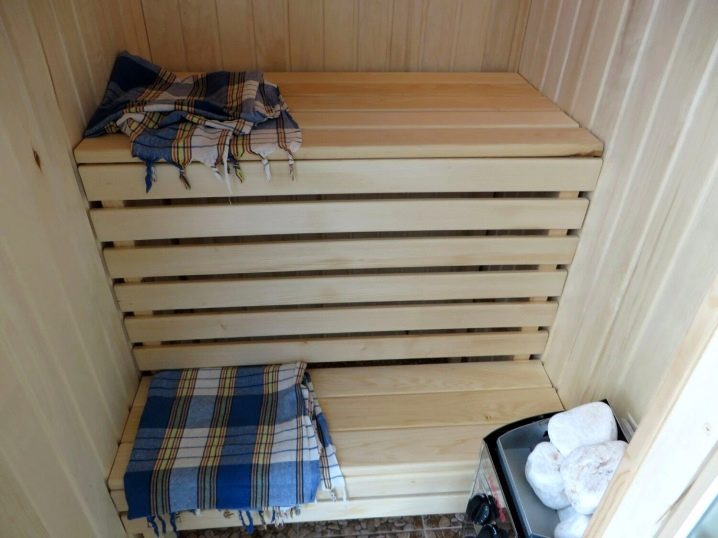
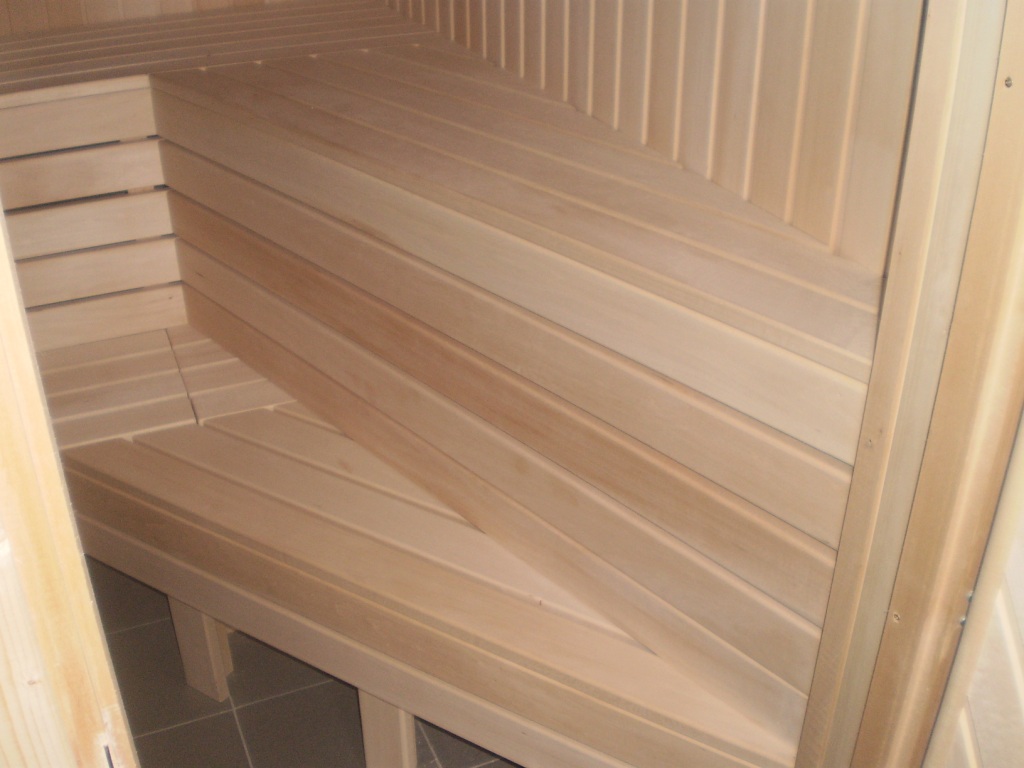
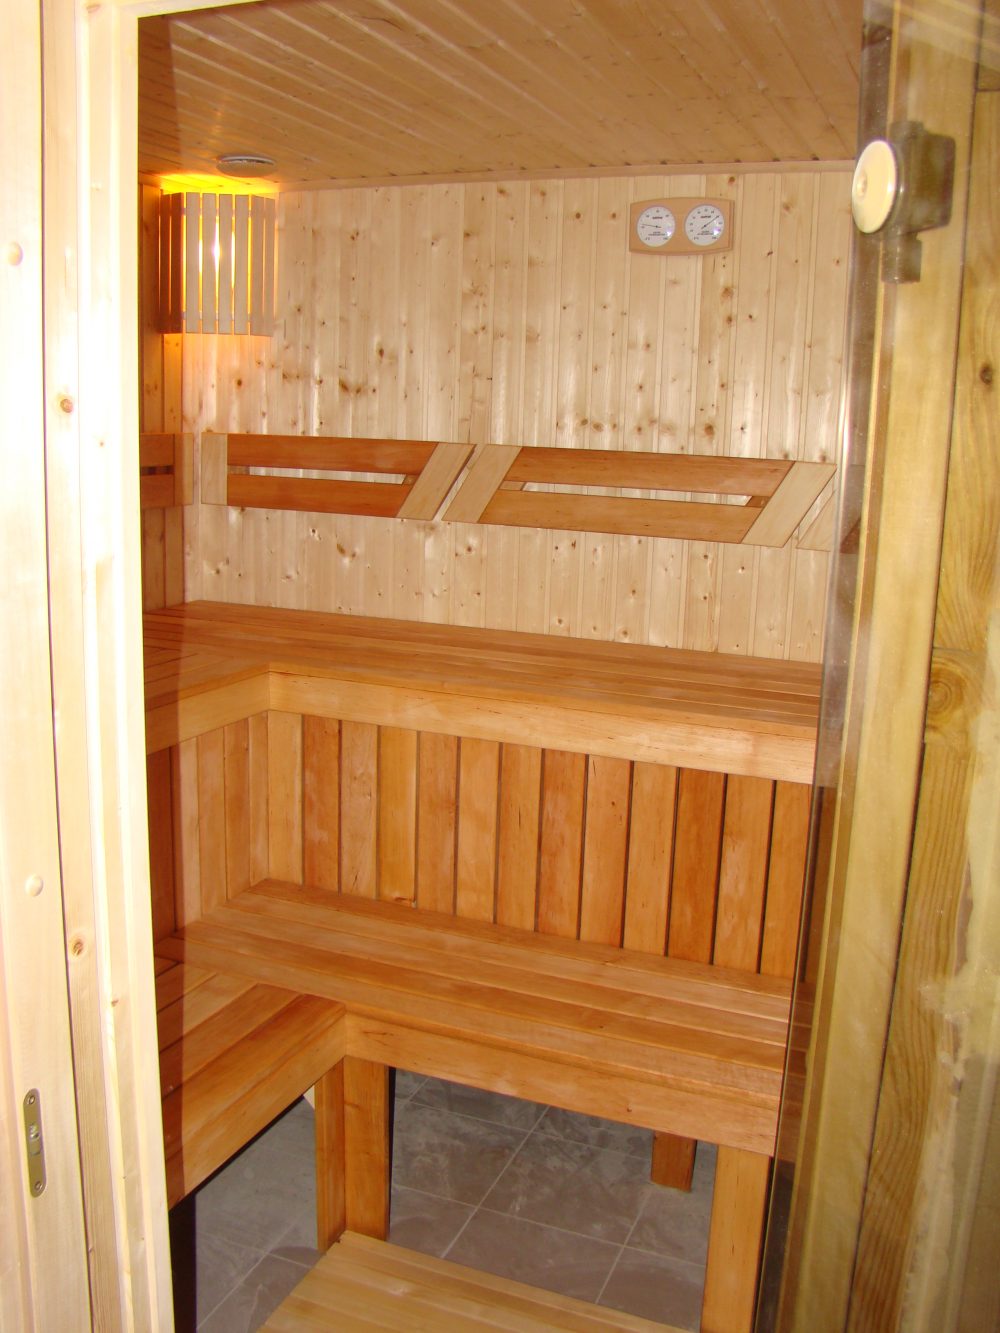
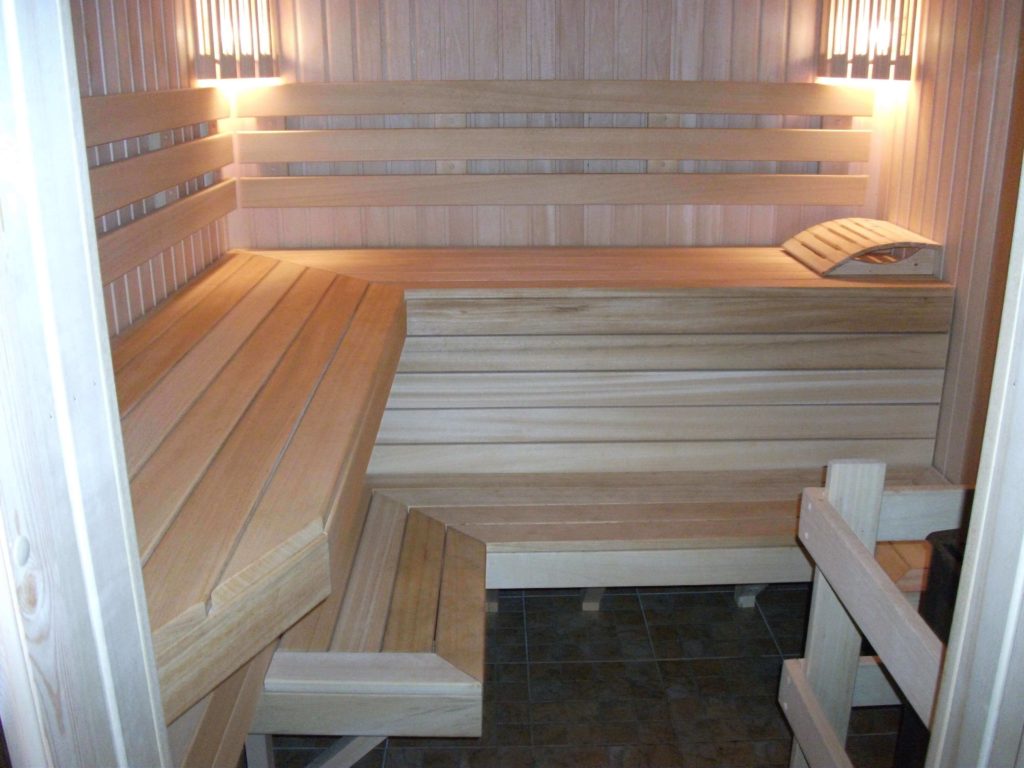
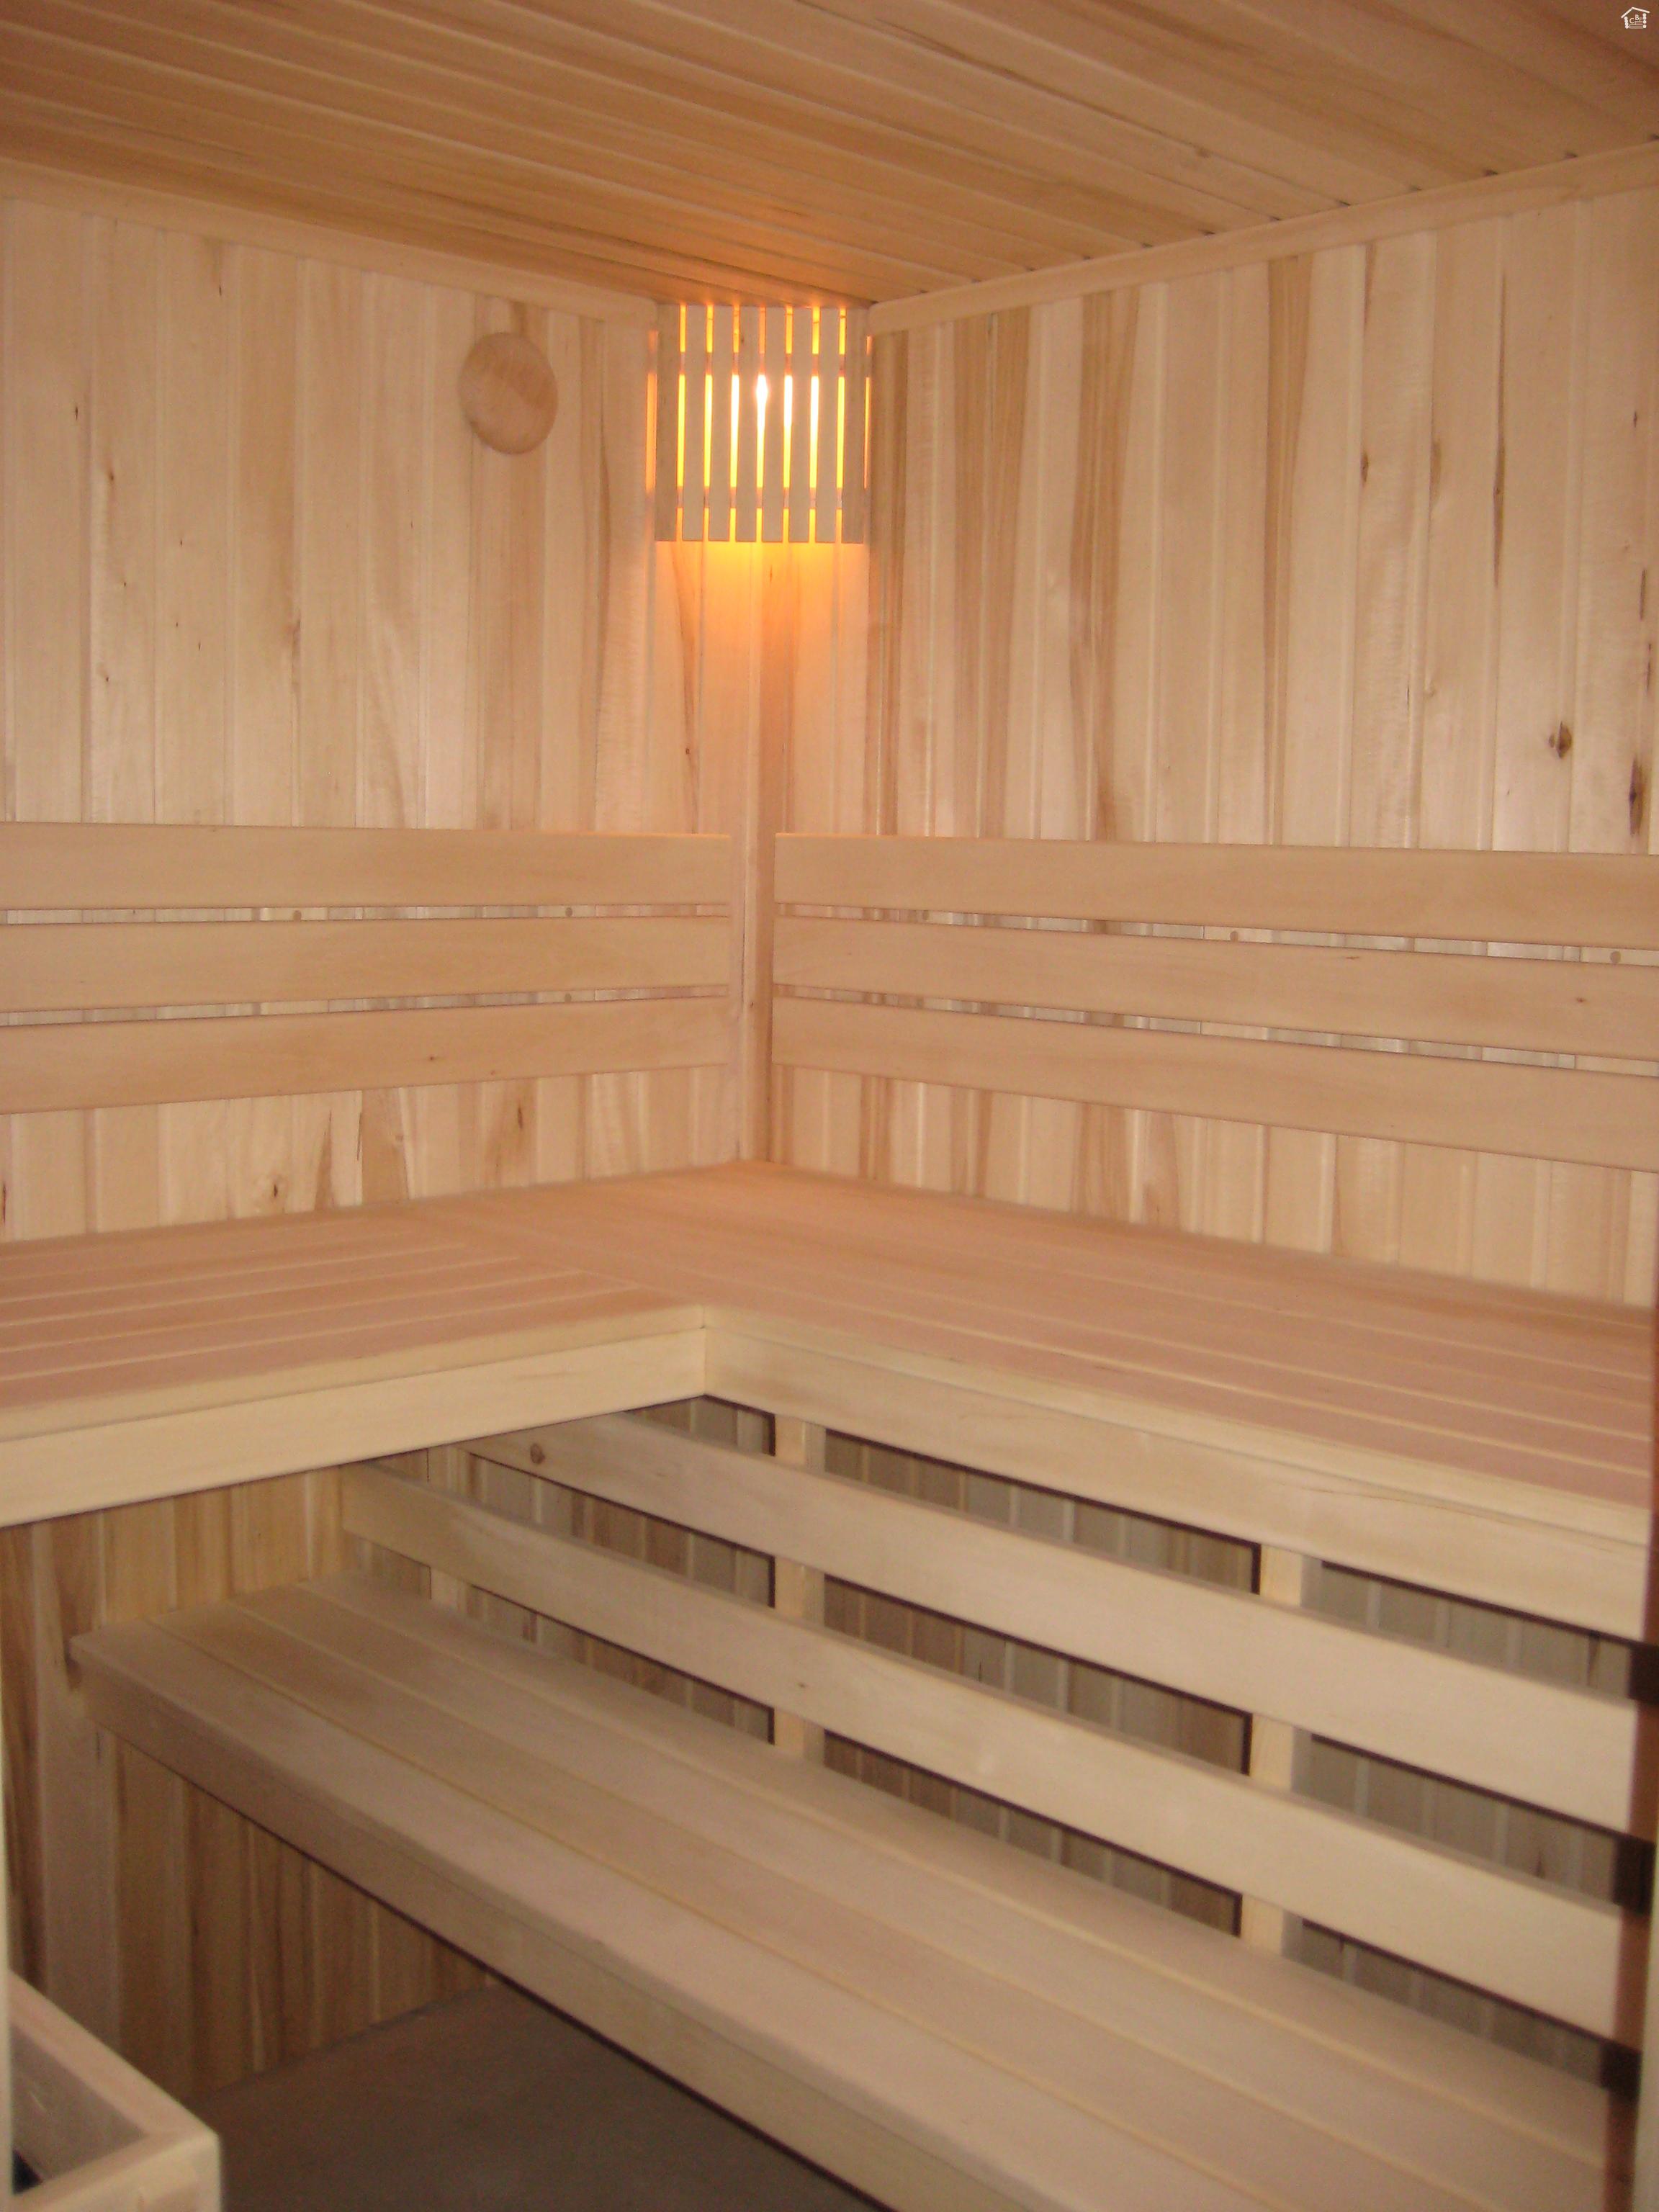
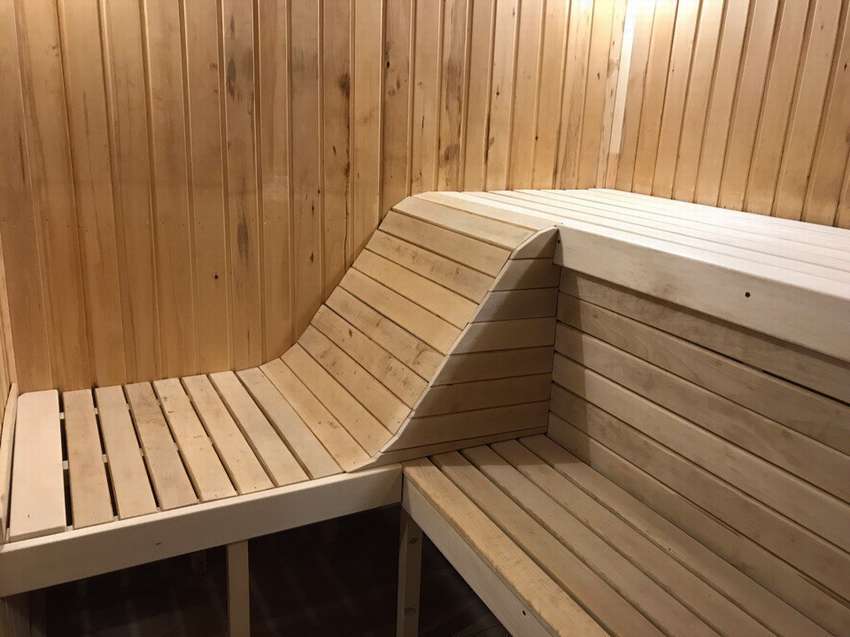
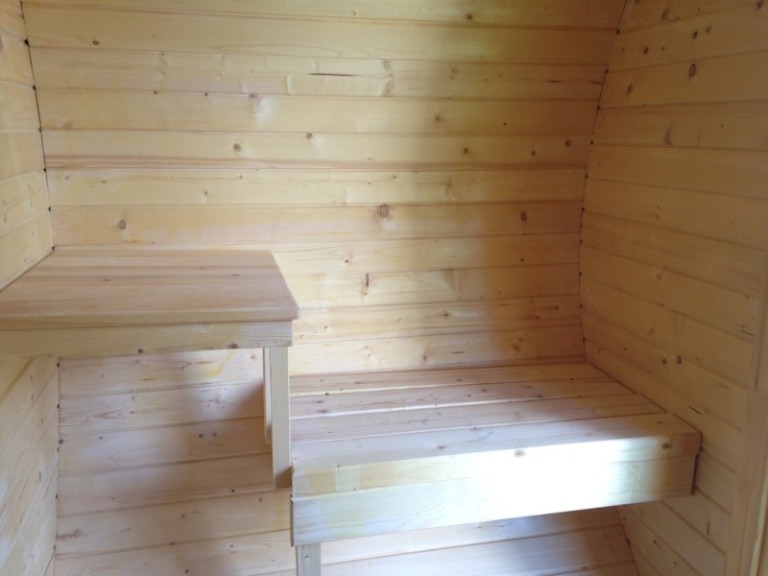
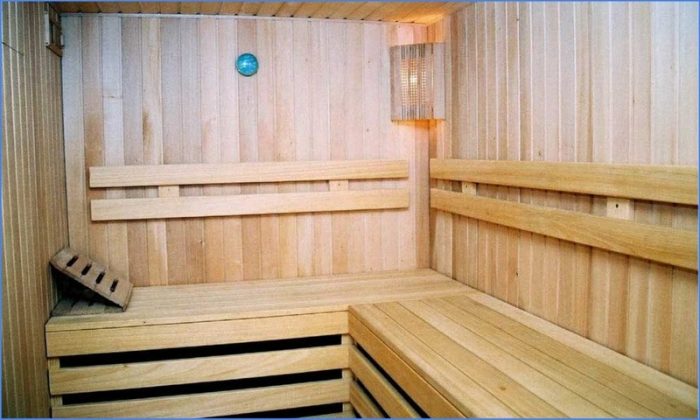
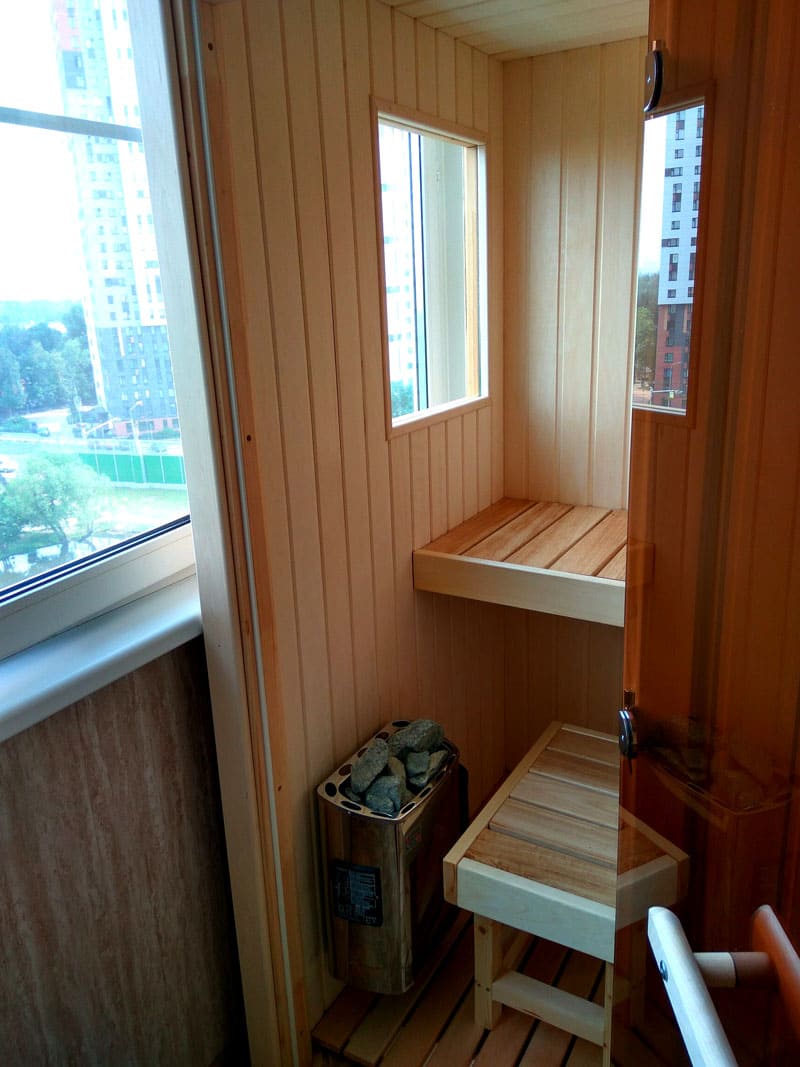
Basically, they put her in the far corner of the room. It is businesslike and handy. Shelves can be placed inside the sauna. Better than 2 (one 70 cm above the floor, the second 150 cm). In between there should be a gap for air! Additionally, you can install hangers, put a small folding table and chairs, put candles, flavors.
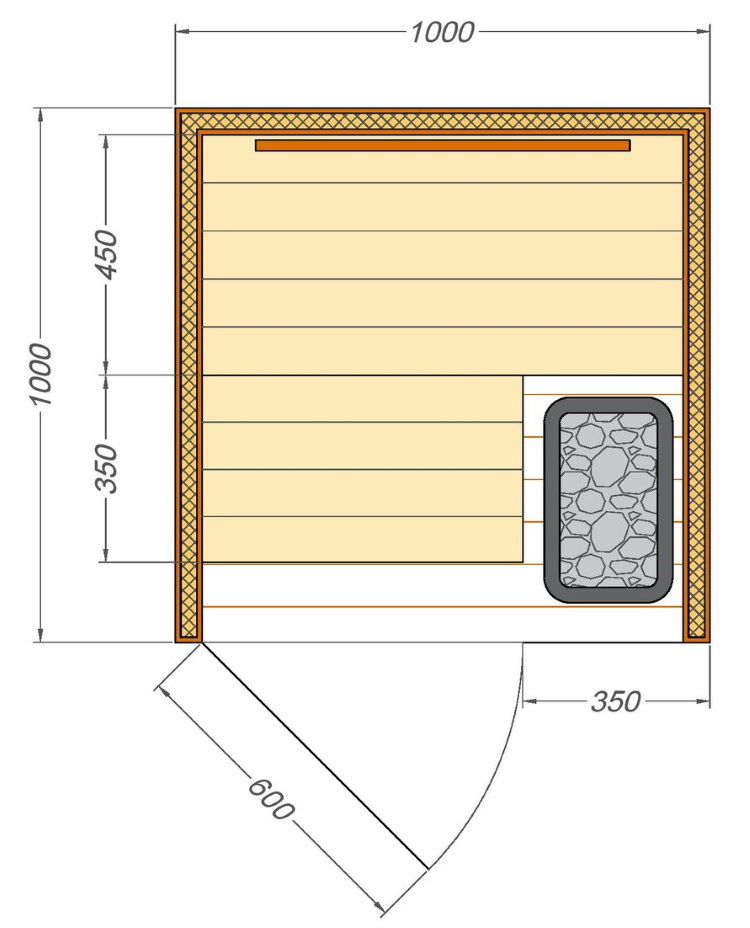
The location of the seats and the stove is chosen depending on the size of the steam room
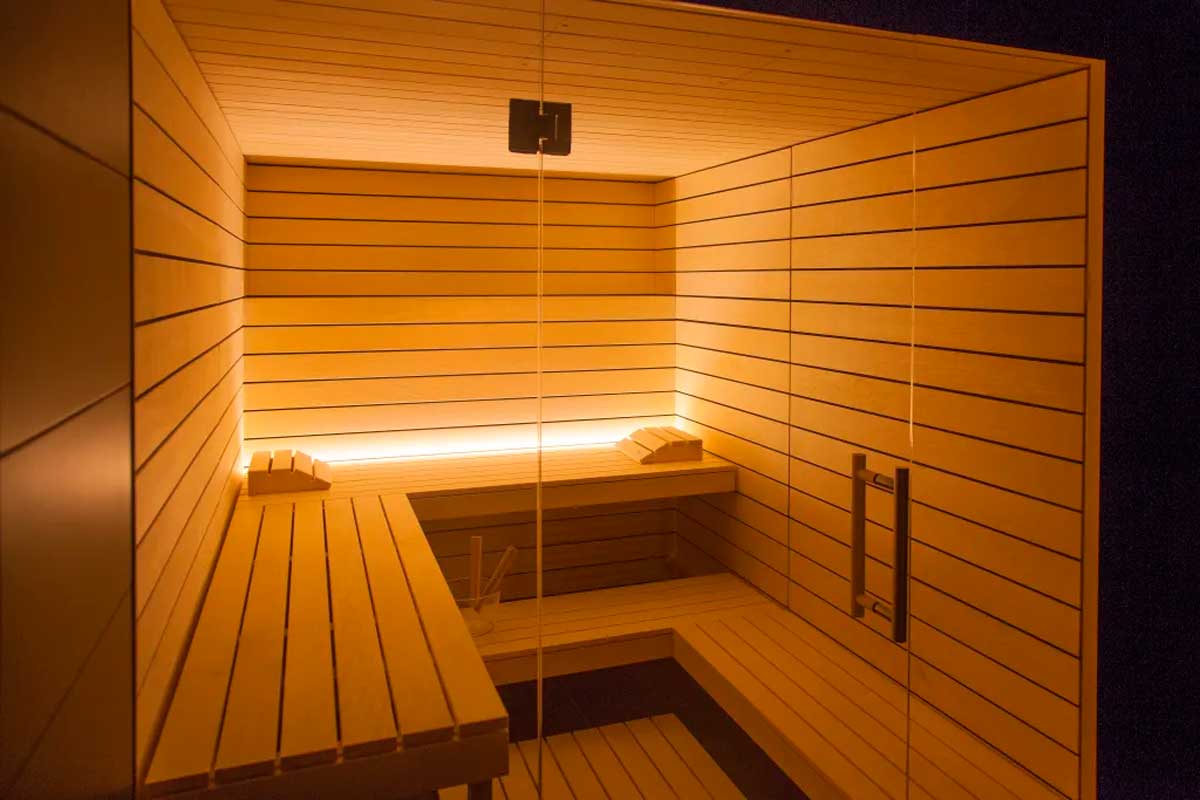
If everything is beautifully designed, then you get a room that your friends and guests will like. If there will still be night lighting, decorative elements and decorations are arranged, then you will definitely feel the joy and satisfaction of the idea by going to the balcony or loggia!
In order to save space and for safety reasons, the door in the steam room should open outwards
When there is no time to travel to the other end of the city to visit the sauna, a home bath will come to the rescue. In it you will warm up and steam. By the way, for free and as much as you like!
Video: Overview of the DIY sauna on the balcony
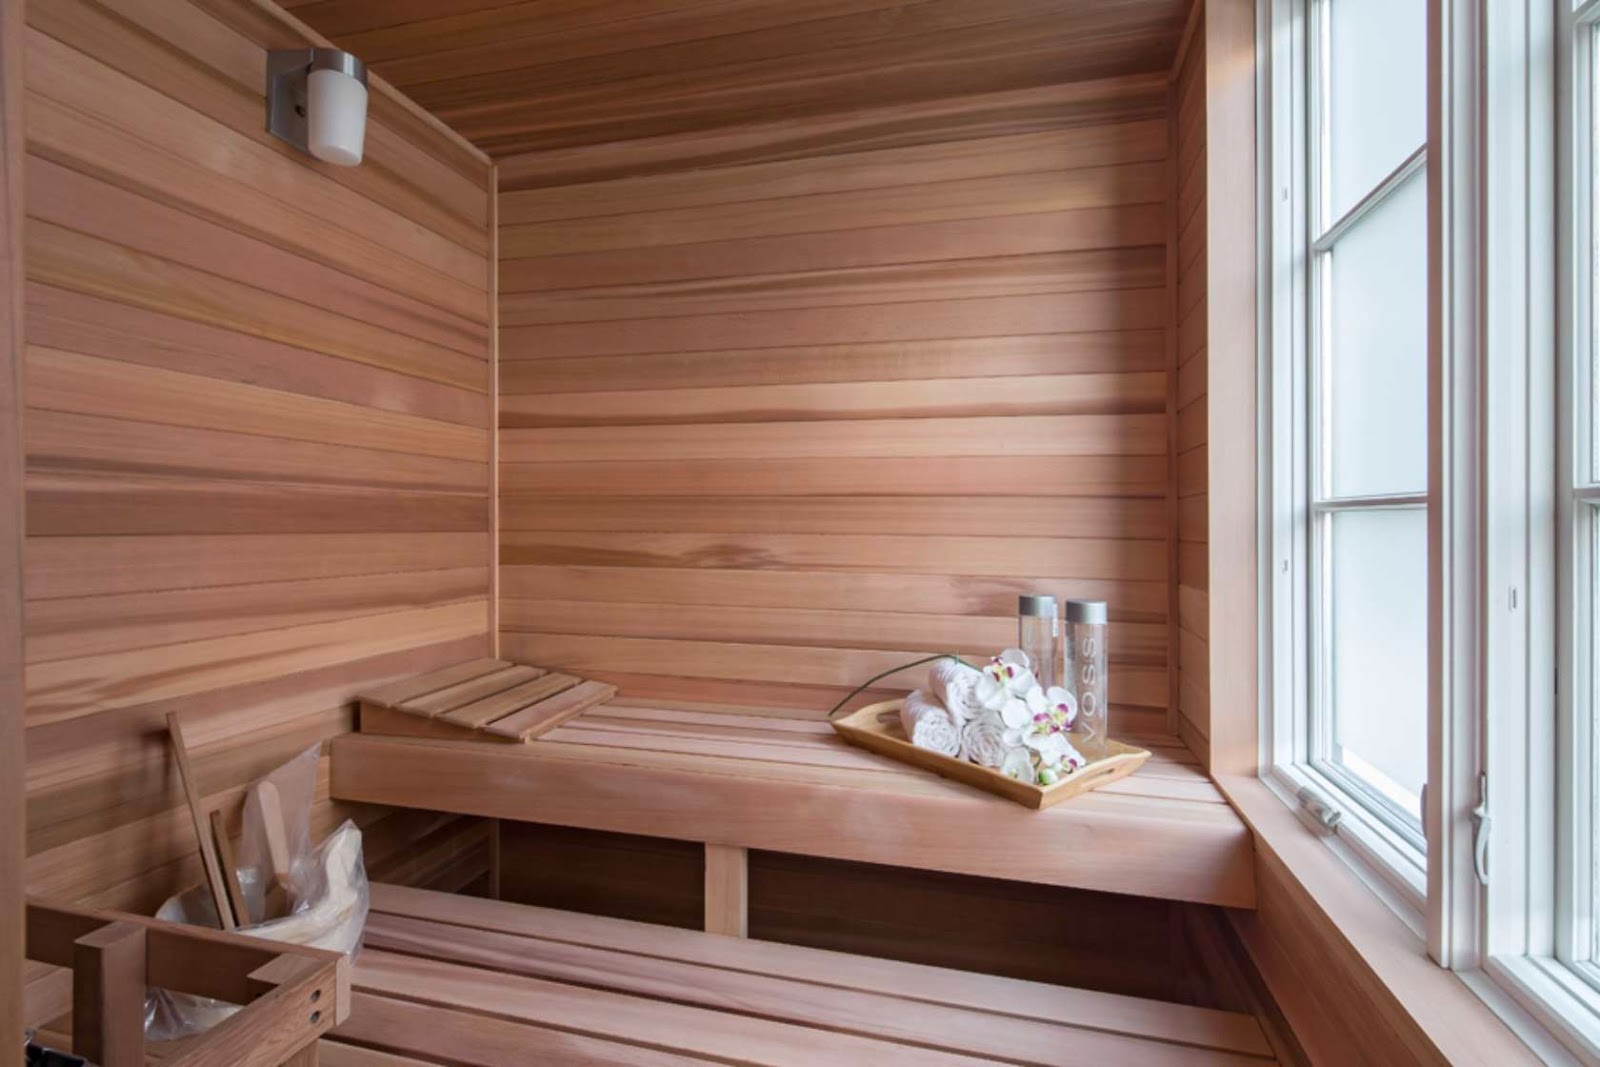
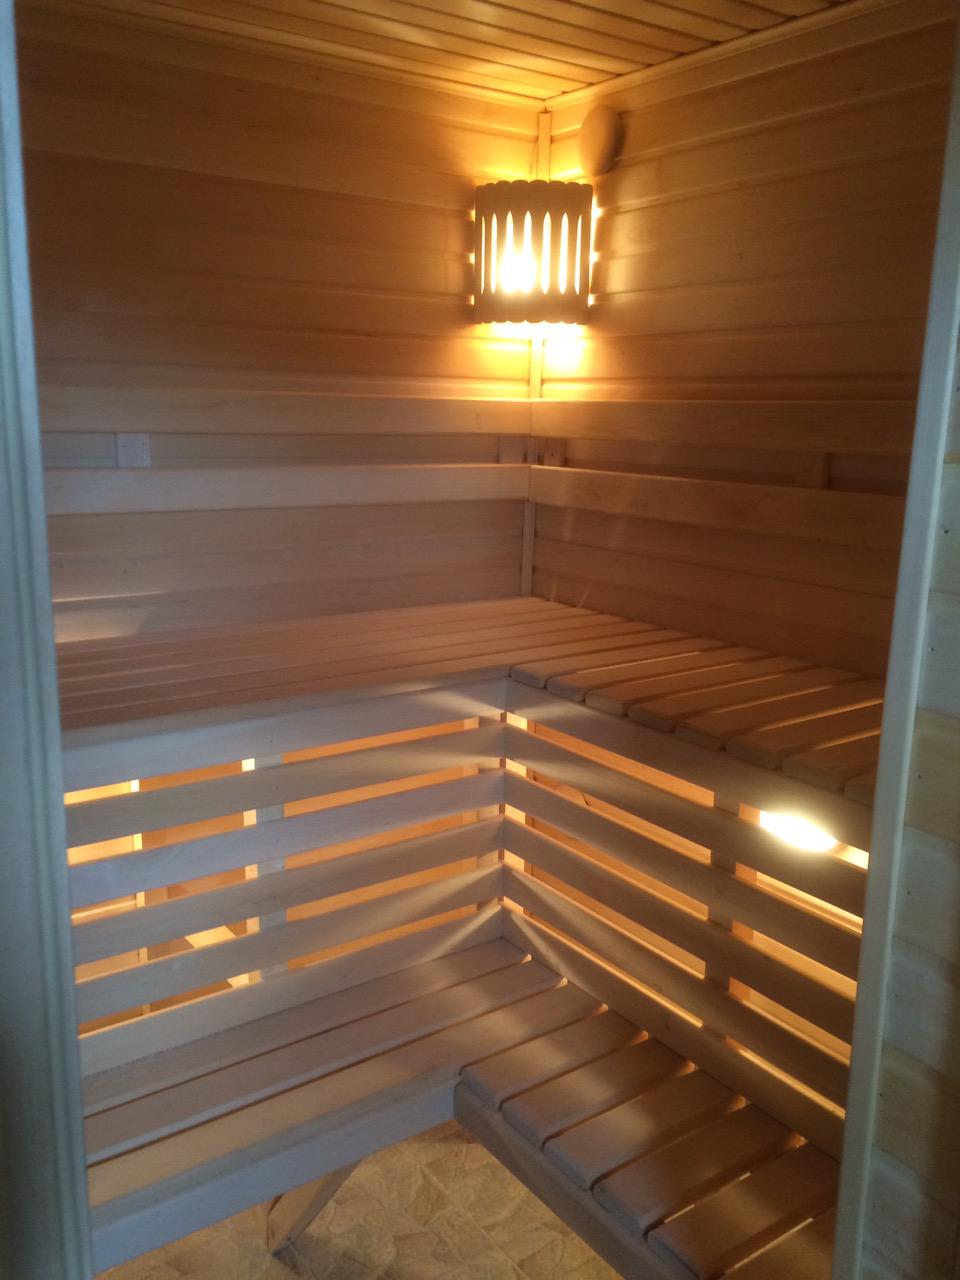
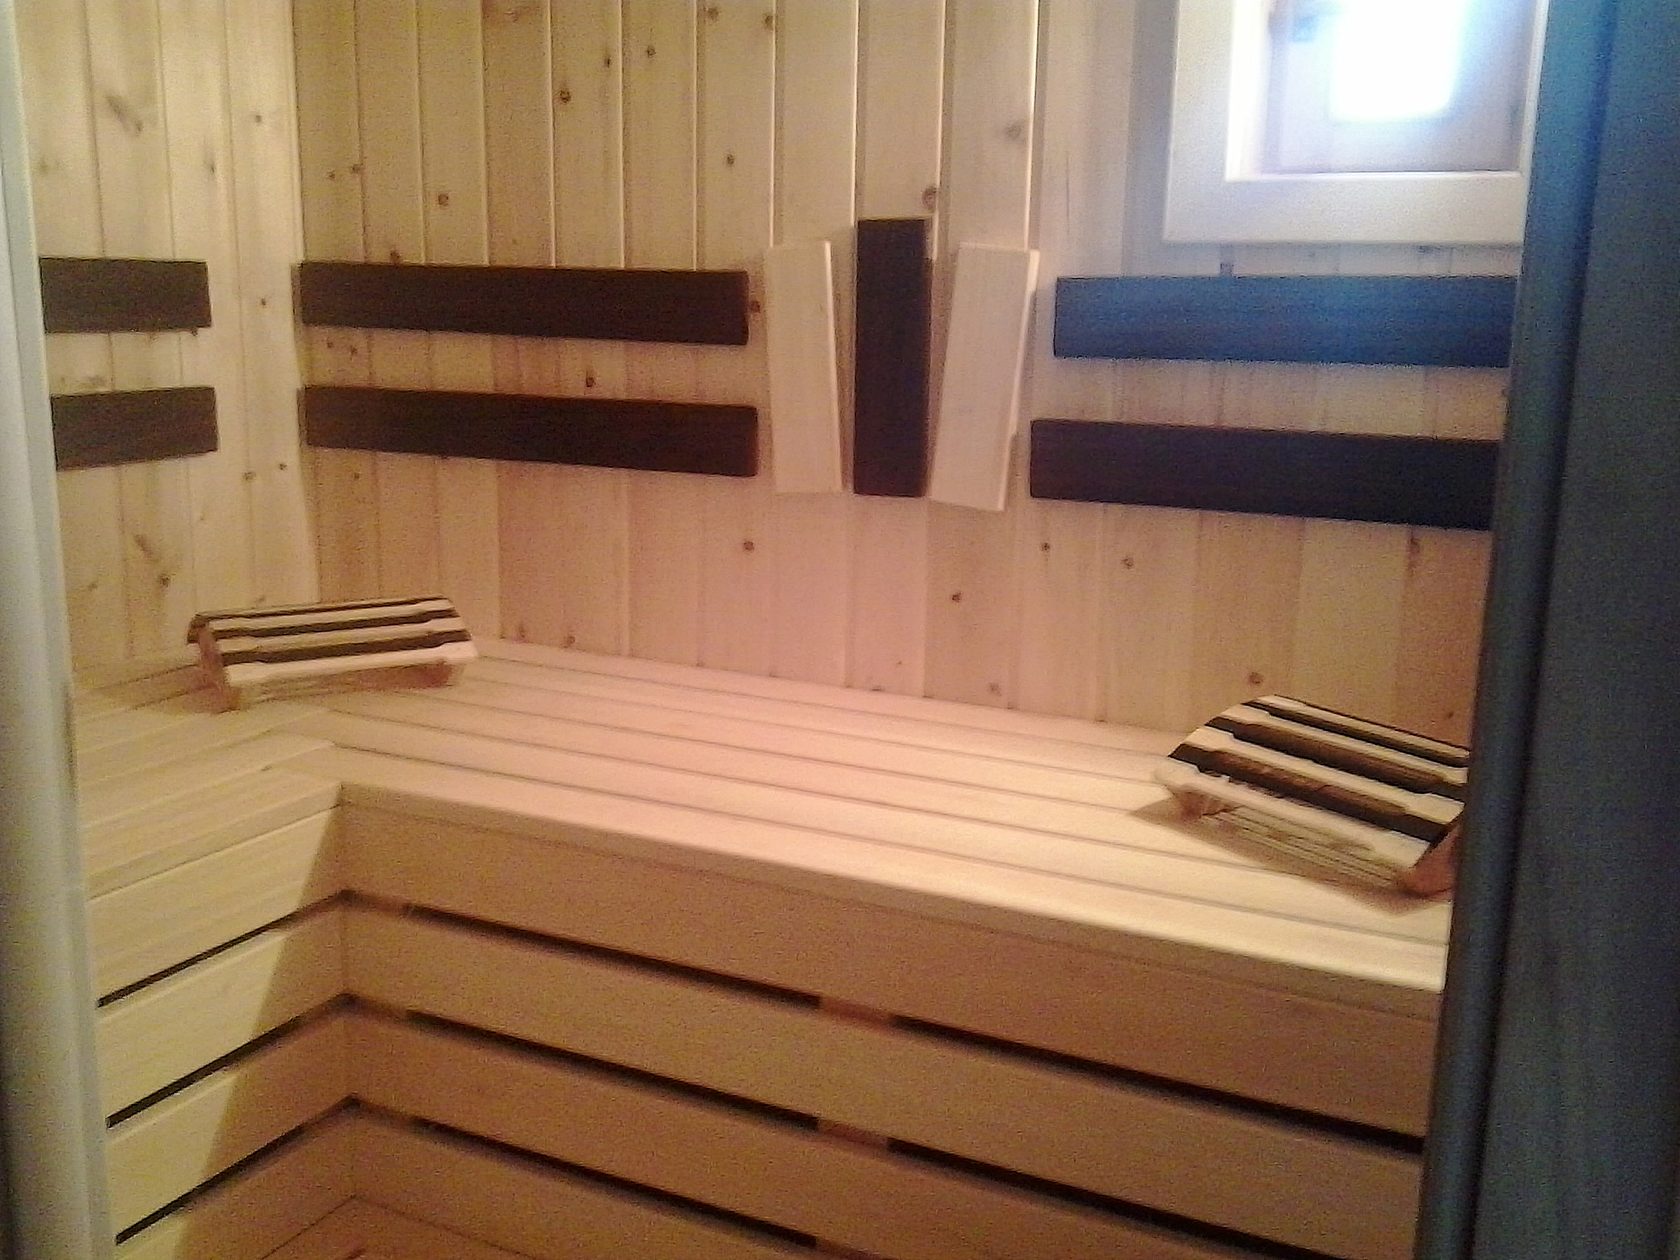
Photos of ideas for decorating a balcony sauna
In the end, I want to show some photos of the already taken steam room and sauna on the balcony for inspiration!
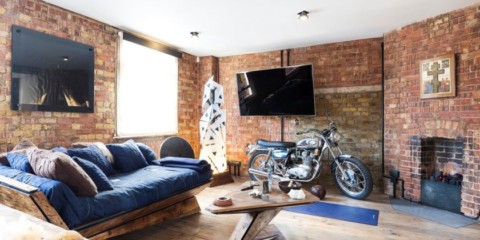
In the middle of the last century, in the center of New York, land has risen in price. Entrepreneurs began to transfer production to the outskirts of the metropolis. And the former production ...
It is no coincidence that the Scandinavian style has become one of the most popular in interior design. It allows you to visually expand the space through the use of ...
It is believed that a cottage is a great opportunity to break out of the limited space of a typical apartment. However, the house is not always distinguished by sufficient ...
Correctly arranging furniture in an apartment is not so simple. In this process, the owners of the living space will need not only a creative, but also a rational approach ...
There are situations when it is necessary to improve one’s living conditions in a certain way. But there are not always financial opportunities for this ....
Curtains are necessary not only for decoration, they are able to influence the general atmosphere of the room, and the interior as a whole.
Take your time to buy at the store ...


 Interior
The use of the loft style in the interior of one-room apartments
Interior
The use of the loft style in the interior of one-room apartments